Introduction
Robots are one of the most popular subjects among children. They can be funny, cute, and even inspiring. Drawing robots can be a great way to encourage creativity in kids. But how do you teach kids to draw a robot? This article will provide a comprehensive guide on how to draw a robot for kids, including step-by-step instructions, kid-friendly tips, visual guides, and an easy template for creating a fun and unique robot picture.
Step-by-Step Guide to Drawing a Robot for Kids
Drawing a robot is a fun and creative activity that can help kids learn important skills like problem solving, spatial awareness, and fine motor control. Here are some basic steps to get started:
Gather Supplies
Before beginning any drawing project, it’s important to gather the right supplies. For drawing a robot, you’ll need paper, pencils, and crayons or markers. You may also want to include other materials such as construction paper, glue, scissors, and glitter for added creativity.
Sketch Out the Basic Shape
Once you have your supplies ready, it’s time to start sketching! Begin by drawing a circle for the head and two connecting lines for the body and arms. You can add more details like eyes, antennae, and buttons later.
Introduce Details
Now it’s time to bring your robot to life! Add details like eyes, a mouth, and antennae to the head. Then, draw the arms and legs, and don’t forget to give them joints so they can move.
Add Color and Texture
Adding color and texture is an important step in bringing your robot to life. Use bright colors to make it stand out, and incorporate different textures with different materials. You can use construction paper to create a three-dimensional effect, or add glitter for a sparkly touch.
Kid-Friendly Tips on Creating a Cute and Fun Robot
When drawing a robot for kids, it’s important to keep in mind that they’re looking for something fun and exciting. Here are some tips to help you create a cute and fun robot:
Use Bright Colors
Using bright colors is a great way to make your robot stand out and capture your child’s attention. Research has shown that bright colors can help stimulate the brain and increase creativity.
Incorporate Fun Details
Adding fun details like lights, gears, and buttons can make your robot come alive. These details can help spark your child’s imagination and encourage them to think outside the box.
Make it Interactive
Making your robot interactive can help engage your child and make it more enjoyable. You can incorporate movable parts such as arms and legs, or add a button that makes lights and sounds.
10 Simple Steps to Draw a Charming Robot
Drawing a robot doesn’t have to be complicated. Here are 10 simple steps to get you started:
Step 1: Start with a Circle
Start by drawing a circle for the head.
Step 2: Add Two Connecting Lines
Draw two connecting lines for the body and arms.
Step 3: Draw the Arms and Legs
Next, draw the arms and legs. Be sure to give them joints so they can move.
Step 4: Detail the Head
Add details like eyes, a mouth, and antennae to the head.
Step 5: Create the Torso
Draw the torso and connect it to the head and arms.
Step 6: Add Details to the Arms and Legs
Add details like hands, feet, and decorations to the arms and legs.
Step 7: Draw the Hands and Feet
Draw the hands and feet, and be sure to give them joints so they can move.
Step 8: Add Decorations
Add decorations such as lights, gears, and buttons.
Step 9: Add Finishing Touches
Add finishing touches such as a hat, scarf, or cape.
Step 10: Color It In
Finally, give your robot some color. Use bright colors to make it stand out and capture your child’s attention.
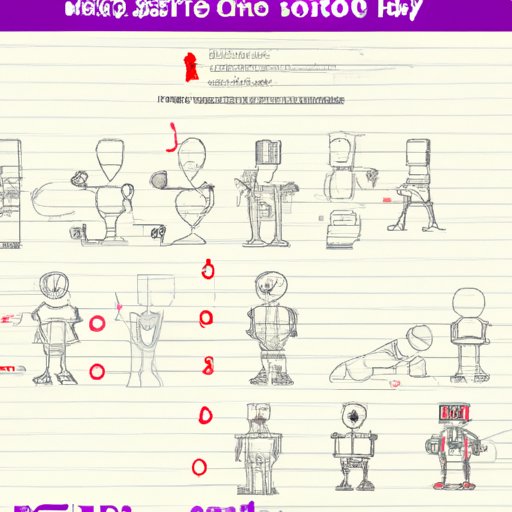
A Visual Guide to Drawing a Robot with Pictures
Sometimes it can be helpful to have a visual guide when drawing a robot. Here are some pictures to help you get started:
Begin with a Circle for the Head
Start by drawing a circle for the head.
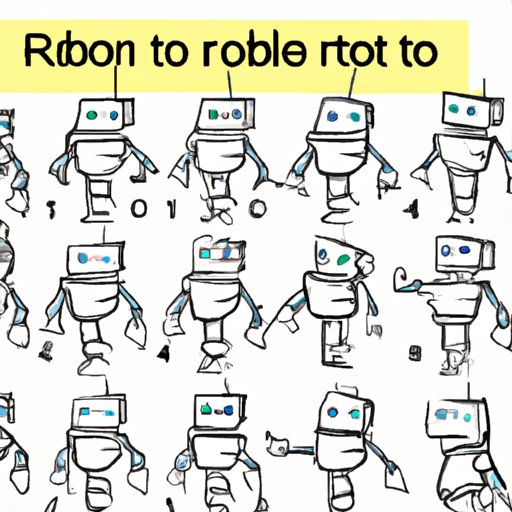
Draw the Body and Arms
Draw the body and arms, and don’t forget to give them joints so they can move.
Add the Legs and Hands
Add the legs and hands, and be sure to give them joints so they can move.
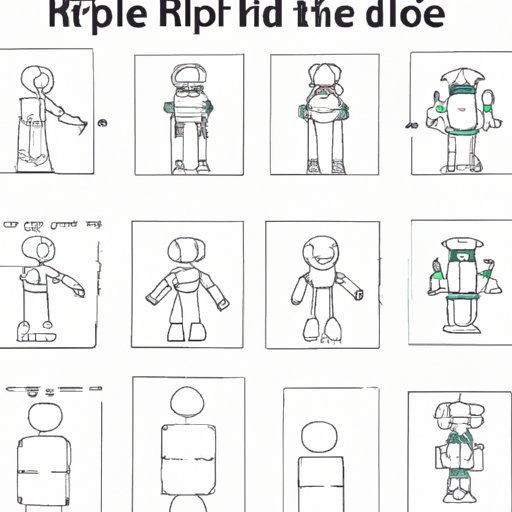
Finish with Details and Color
Add details like lights, gears, and buttons, and don’t forget to give your robot some color.
Creating an Easy Robot Picture with Your Little Artist
If your child is too young to draw their own robot, there’s an easy solution! Here’s how to create a fun and easy robot picture with your little artist:
Choose a Template
Choose a robot template from online or print out a template from a coloring book.
Cut Out the Pieces
Cut out the pieces of the template and set them aside.
Assemble the Pieces
Help your child assemble the pieces of the template to create the robot.
Add Color and Decorations
Encourage your child to add color and decorations to their robot. This is a great way to encourage creativity and self-expression.
Conclusion
Drawing a robot is a fun and creative activity that can help kids learn important skills like problem solving, spatial awareness, and fine motor control. This article provided a comprehensive guide on how to draw a robot for kids, including step-by-step instructions, kid-friendly tips, visual guides, and an easy template for creating a fun and unique robot picture.
(Note: Is this article not meeting your expectations? Do you have knowledge or insights to share? Unlock new opportunities and expand your reach by joining our authors team. Click Registration to join us and share your expertise with our readers.)