Introduction
Robots are a staple of science fiction, and they have been a source of fascination for centuries. They are complex machines that can be programmed to do a variety of tasks, from simple household chores to complex manufacturing processes. But what exactly is a robot? According to the Robotics Institute at Carnegie Mellon University, “A robot is a programmable machine designed to carry out a complex series of actions automatically.”
In this article, we will explore how to draw a robot easy. We will provide a step-by-step guide to help you create your own robot artwork, as well as tips and tricks to make the process easier. We will also discuss different types of robots and how to draw them, as well as the importance of proportion and perspective when creating a robot drawing.
Step-By-Step Guide to Drawing a Robot
When it comes to drawing a robot, it can be intimidating to start from scratch. But don’t worry! With a few simple steps and some helpful tips, you can create your own robot artwork with ease. Here is a step-by-step guide to help you get started:
1. Start by sketching the basic shape of the robot. This could be a circle, rectangle, or any other shape you like. It doesn’t have to be perfect – just use it as a starting point.
2. Next, add details to the robot. These could include eyes, arms, legs, antennas, or any other features you would like to include. Don’t be afraid to experiment and try something new.
3. Once you’ve added all the details, go back and refine the shapes. Make sure the proportions are correct and the lines are smooth. This will help give your robot a professional look.
4. Finally, color in the robot. You can use colored pencils, markers, or even paint. Have fun with it and let your creativity shine!

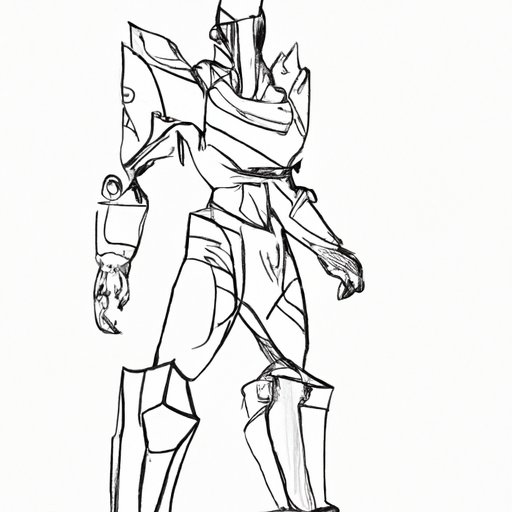
Visual Examples of How to Draw a Robot from Start to Finish
To help you get started, here are some visual examples of how to draw a robot from start to finish. These images show each step of the process, from the initial sketch to the finished product.

As you can see, drawing a robot is not as difficult as it may seem. With a little practice, you can create your own unique robot artwork.

Tips and Tricks for Drawing a Robot with Ease
Drawing a robot doesn’t have to be hard. Here are some tips and tricks to help you create your own robot artwork with ease:
- Start with basic shapes. This will help you get a better sense of the proportions and allow you to experiment with different designs.
- Use reference material. Looking at real-life robots or existing artwork can help you come up with ideas and keep your drawing on track.
- Don’t be afraid to make mistakes. Mistakes are part of the learning process and can help you become a better artist. Just keep practicing and you’ll eventually get the hang of it.
- Have fun! Drawing should be enjoyable, so don’t be too hard on yourself. Relax and enjoy the process.
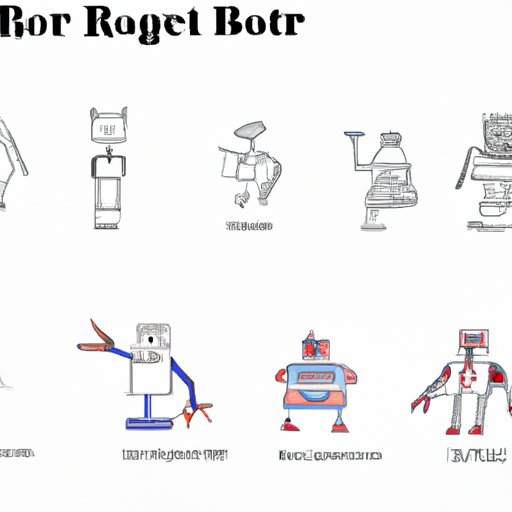
Different Types of Robots and How to Draw Them
There are many different types of robots, each with its own unique design. From humanoid robots to industrial machines, there is no shortage of inspiration for your artwork. Here are some popular robot designs and how to recreate them:
- Humanoid Robots: Humanoid robots are designed to look and act like humans. To draw one, start with a basic human figure and then add robotic features such as antennae, mechanical arms and legs, and a computerized face.
- Industrial Robots: Industrial robots are used in factories and other industrial settings. To draw one, start with a basic rectangular shape and then add details such as sensors, arms, and wheels.
- Space Robots: Space robots are designed to explore other planets and galaxies. To draw one, start with a basic circular shape and then add features such as wings, thrusters, and antennas.
Using basic shapes is a great way to get started, but don’t be afraid to experiment and add your own unique touches. Get creative and have fun with it!
Proportion and Perspective When Drawing a Robot
Proportion and perspective are important elements for any artwork, and this is especially true when it comes to drawing robots. Proportion is the relative size of parts compared to the whole, while perspective is the illusion of depth created by overlapping objects and changing their size. Here are some tips to help you understand the basics of proportion and perspective:
- Pay attention to the overall shape of the robot. Make sure all the parts are in the correct proportions.
- Look for opportunities to overlap objects and create the illusion of depth. This will help make your artwork more realistic.
- Experiment with different angles and perspectives. This will help you create more interesting compositions.
Here are some examples of how proportion and perspective can be used to create an impressive robot drawing:

Conclusion
In conclusion, drawing a robot is not as difficult as it may seem. With a few simple steps and some helpful tips, you can create your own robot artwork with ease. We provided a step-by-step guide to help you get started, as well as tips and examples of popular robot designs. We also discussed the importance of proportion and perspective when creating a robot drawing. So now that you know the basics, why not give it a try? You might be surprised by what you can create!
Remember to have fun and experiment with different designs. With a bit of practice, you’ll soon be able to create your own impressive robot artwork.
(Note: Is this article not meeting your expectations? Do you have knowledge or insights to share? Unlock new opportunities and expand your reach by joining our authors team. Click Registration to join us and share your expertise with our readers.)