Introduction
Robot arms are popular subjects for drawing and artwork. Whether they’re used to create realistic illustrations or cute cartoon characters, robot arms can be a fun and creative challenge for any artist. But before you start drawing a robot arm, it’s important to understand the basics of robotics and the anatomy of a robot arm.
The purpose of this article is to provide a step-by-step guide on how to draw a robot arm. We’ll cover a range of topics, from gathering the necessary materials to creating a realistic 3D effect with shading. We’ll also explore some tips and tricks for drawing a cartoon robot arm, as well as ideas for drawing a robot arm with proportions and shading techniques.
Step-by-Step Guide on How to Draw a Robot Arm
When it comes to drawing a robot arm, it’s important to have the right materials. You’ll need paper, pencils, erasers, and other drawing supplies. It’s also a good idea to have reference images of robot arms so you can study the anatomy and design of a robot arm.
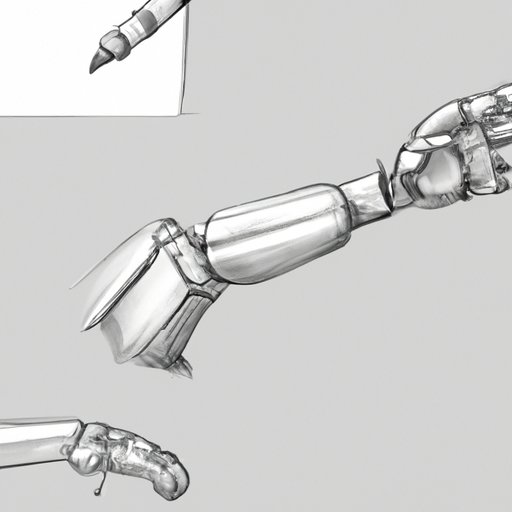
Once you have the materials, you can begin by drawing the basic shape of the robot arm. Start by sketching out the main parts of the robot arm, such as the shoulder, elbow, wrist, and fingers. Then, add details such as joints, pistons, and screws. Make sure to keep the proportions in mind when drawing the robot arm.
Once you have the basic shape and proportions down, it’s time to add details and textures. Use different lines and shapes to give your robot arm more depth. You can also use shading techniques to enhance the realism of your drawing. Experiment with different angles and light sources to create interesting shadows and highlights.
A Beginner’s Guide to Drawing a Robot Arm
If you’re new to drawing robot arms, it’s important to first understand the anatomy of a robot arm. Start by studying reference images of robot arms and sketching out the main parts. Identify key features such as the shoulder, elbow, wrist, and fingers.
Once you’ve identified and drawn the main parts of the robot arm, it’s time to add details. Pay attention to the joints, pistons, and screws, as these are important elements of a robot arm. Be sure to keep the proportions in mind when drawing the robot arm.
Finally, it’s time to experiment with different lines and shapes. This will help to give your robot arm more depth and dimension. You can also use shading techniques to make your robot arm appear more realistic.
Tips and Tricks for Drawing a Realistic Robot Arm
When drawing a realistic robot arm, it’s important to pay attention to the details. Use shading techniques to enhance the realism of your drawing. You can also add shadows and highlights to make your robot arm appear more lifelike.
Experiment with different lines and shapes to give your robot arm more depth. Try using cross-hatching, stippling, and other shading techniques to create a 3D effect. You can also use different light sources to create interesting shadows and highlights.
“Shading is an important part of drawing a realistic robot arm,” says artist and illustrator Jenny Smith. “Using different angles and light sources can really bring your drawing to life.”
Creative Ideas for Drawing a Cartoon Robot Arm
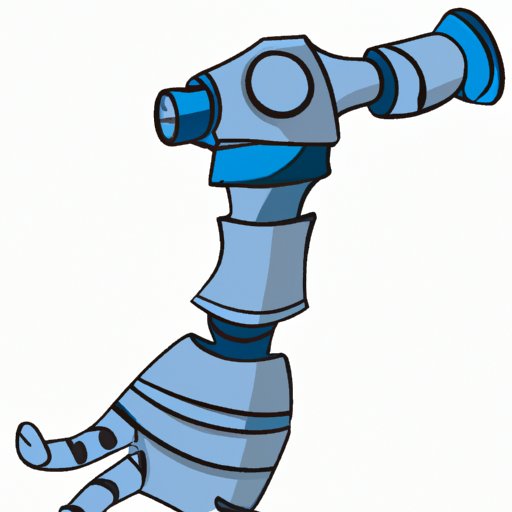
If you’re looking for a more whimsical approach to drawing a robot arm, try creating a cartoon version. Start by simplifying the design of your robot arm. Instead of focusing on intricate details, focus on the overall shape and structure of the robot arm.
You can also create an expressive face for your robot arm. Add eyes, eyebrows, and a mouth to give your robot arm personality. Finally, play around with colors and patterns to make your robot arm stand out.
“Creating a cartoon robot arm is all about having fun and experimenting,” says cartoonist and illustrator Dan Johnson. “There’s no wrong way to do it – just let your imagination run wild!”
Drawing a Robot Arm With Proportions and Shading Techniques
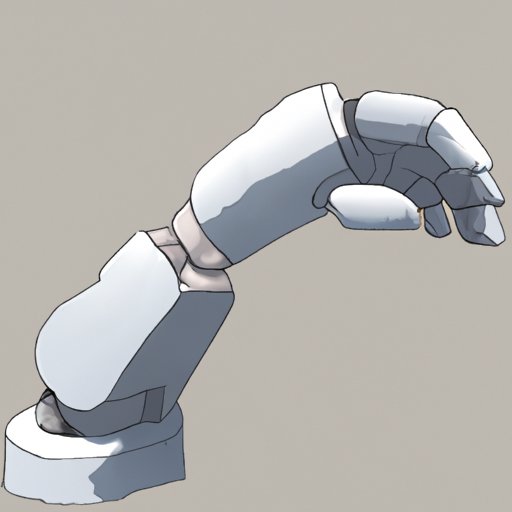
If you’re looking to create a more realistic robot arm, it’s important to establish the correct proportions. Start by sketching out the basic shape of the robot arm, then add details such as joints, pistons, and screws.
Next, you can use shading techniques to create a 3D effect. Experiment with different lighting angles to create interesting shadows and highlights. You can also use cross-hatching, stippling, and other shading techniques to make your robot arm appear more lifelike.
“Proportions and shading techniques are essential for creating a realistic robot arm,” says illustrator and animator Chris Hall. “Using different angles and light sources can really bring your drawing to life.”
Conclusion
Drawing a robot arm can be a fun and creative challenge for any artist. In this article, we explored the basics of robotics and the anatomy of a robot arm. We also provided a step-by-step guide on how to draw a robot arm, from gathering the necessary materials to creating a realistic 3D effect with shading. We also explored some tips and tricks for drawing a cartoon robot arm, as well as ideas for drawing a robot arm with proportions and shading techniques.
In conclusion, drawing a robot arm requires patience and practice. By understanding the anatomy of a robot arm, gathering the necessary materials, and experimenting with different lines and shapes, you can create a realistic or cartoon robot arm that’s sure to impress.
(Note: Is this article not meeting your expectations? Do you have knowledge or insights to share? Unlock new opportunities and expand your reach by joining our authors team. Click Registration to join us and share your expertise with our readers.)