Introduction
Drawing a dancer can be a challenge, but it is also one of the most rewarding art forms. A dancer’s body is constantly in motion, conveying emotion and life. Capturing this movement in your drawings requires practice and skill, but with the right guidance and resources, it is possible to create stunning pieces of art. In this article, we explore how to draw a dancer from start to finish, covering the anatomy of a dancer, capturing motion, applying color and shading techniques, and understanding the basics of perspective.
Breakdown the Anatomy of a Dancer
Before beginning to draw a dancer, it is important to understand the anatomy of a dancer’s body. This will help you create more accurate representations of the figure. The basic parts of a dancer’s body include the head, torso, arms, legs, and feet. Each of these parts should be drawn in proportion to each other. For example, the arms should be the same length as the legs, or slightly longer. When drawing the torso, make sure to show the ribcage and hips, as well as the curves of the spine.
Once you have the basic structure of the body drawn, you can begin to add details. Draw the neck, shoulders, hands, and feet in detail. Show the muscles of the arms and legs, as well as the shape of the feet. Pay close attention to the placement of the joints, such as the elbows, knees, and ankles. This will help you create more dynamic poses for your dancer.
Analyze Body Movements
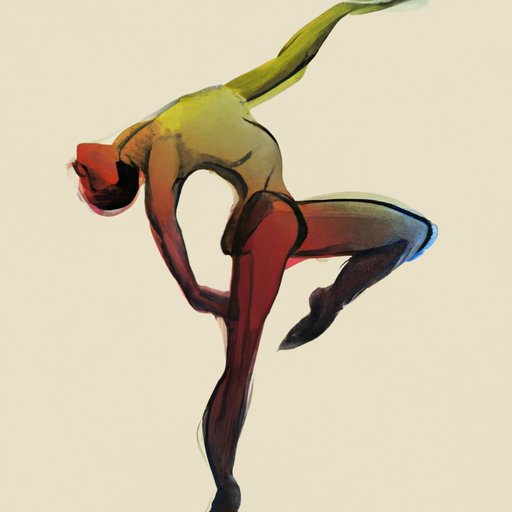
Capturing the motion of a dancer in a drawing requires an understanding of body movements. According to Dr. Kathy Steele, a dance professor at the University of California, Berkeley, “Dance is about movement, flow, and expression. It is not just about steps and technique, but also about the emotional connection between the dancer and the audience.” To capture this connection in your drawing, focus on creating dynamic poses that convey emotion and energy.
When drawing a dancer, it is important to pay attention to the gesture of the figure. Gesture refers to the overall shape of the body and how it moves through space. Look for shapes such as spirals, circles, and lines that can be used to suggest motion and energy. Also, look for ways to emphasize certain parts of the body, such as the arms and legs, to give the drawing more life.
Color and Shading Techniques
Color and shading are essential elements of any drawing. These techniques can be used to bring a dancer’s figure to life and add depth to the drawing. To begin, decide on a color palette that you want to use. You can use a range of colors to create shadows and highlights, or you can opt for a monochromatic look. Once you have chosen a color palette, use shading techniques such as hatching, cross-hatching, and stippling to add texture and dimension to your drawing.
When shading, pay attention to the light source and how it affects the different parts of the body. For example, areas closer to the light source will be lighter and those further away will be darker. You can also use color to create contrast in your drawing. For example, using a dark color for the background and a light color for the figure can help make the figure stand out and give it more depth.
Examples of Drawings
To get inspiration for your drawings, look at examples of other artists’ work. Pay attention to the way they capture motion and emotion in their drawings. Look for drawings that illustrate how to draw a dancer from different angles, such as the front, back, and side. Notice how the artist has used line and shape to create gesture, and how they have used color and shading to bring the figure to life.
Also, take note of the artist’s use of perspective. Perspective plays an important role in creating a sense of depth and realism in a drawing. By understanding the basics of perspective, you can create drawings that look more realistic and convincing.
Basics of Perspective
Perspective is a technique used to create the illusion of three-dimensional space in a two-dimensional drawing. There are two types of perspective: linear perspective and atmospheric perspective. Linear perspective is used to create the illusion of depth by using lines that converge at a vanishing point. Atmospheric perspective uses color and value to create the illusion of distance. By understanding and applying these techniques, you can create drawings that appear more realistic and convincing.
Conclusion
Drawing a dancer requires practice and patience, but with the right guidance and resources, it is possible to create stunning pieces of art. In this article, we explored how to draw a dancer from start to finish, covering the anatomy of a dancer, capturing motion, applying color and shading techniques, and understanding the basics of perspective. With these tips, you can create beautiful drawings of dancers that capture movement and emotion.
Don’t forget to keep practicing! As you continue to draw, you will gain confidence and develop your own style. With enough practice, you will be able to create stunning drawings of dancers that express movement, emotion, and life.
(Note: Is this article not meeting your expectations? Do you have knowledge or insights to share? Unlock new opportunities and expand your reach by joining our authors team. Click Registration to join us and share your expertise with our readers.)