Introduction
Robotic voice effects are becoming increasingly popular on TikTok. Whether you’re making music videos, lip-syncing to your favorite song, or just having fun with friends, adding a robotic voice effect can take your video to the next level. But what exactly is a robotic voice effect, and how do you create it on TikTok? In this article, we’ll explore the steps you need to take to create a robotic voice effect on TikTok. We’ll discuss setting up your recording device, adjusting the pitch and speed settings, utilizing built-in effects, exploring online resources, and more.
Step-by-Step Guide to Adding a Robotic Voice Effect to Your TikTok Videos
Creating a robotic voice effect on TikTok doesn’t have to be difficult. With the right tools and some creativity, you can easily add a robotic voice effect to your videos. Here’s a step-by-step guide to get you started:
Setting Up Your Recording Device
First, you’ll need to set up your recording device. You can use a laptop, smartphone, or other device with a microphone. Make sure the microphone is connected properly and that it’s in close proximity to your mouth. This will ensure that your voice is recorded clearly and without any background noise.
Recording Your Voice
Once your recording device is set up, it’s time to record your voice. Start by speaking into the microphone and make sure your voice is being recorded clearly. If there’s too much background noise, try to find a quieter spot or use headphones to block out the noise.
Adjusting the Pitch and Speed Settings
Once you’ve recorded your voice, you can start adjusting the pitch and speed settings. Most recording programs have sliders that allow you to adjust the pitch and speed of the recording. Experiment with different settings until you find a sound that you like.
Adding Effects to Create a Robotic Voice
Now it’s time to add effects to create a robotic voice. You can use built-in effects such as reverb and delay, or you can purchase plugins and apps to get more advanced sounds. Adjust the effects until you find a sound that you like.
How To Create an Autotuned / Robot Voice on TikTok
Autotuning is a popular way to create a robotic voice effect on TikTok. Autotune is a type of software that adjusts the pitch and speed of a voice recording to create a unique sound. There are many autotune apps available, so it’s important to choose one that suits your needs.
Choosing the Right Autotune App
When choosing an autotune app, look for one that has a wide range of features and options. Some apps offer more control over the sound than others, so be sure to read the reviews before making a decision. Additionally, look for an app that’s easy to use and offers tutorials if needed.
Making Adjustments to Get the Perfect Sound
Once you’ve chosen an autotune app, it’s time to start making adjustments. Most autotune apps allow you to adjust the pitch and speed of the recording, as well as add effects like reverb and delay. Experiment with different settings until you find a sound that you’re happy with.
Easy Tutorial: Create a Robotic Voice on TikTok
If you want to quickly create a robotic voice effect on TikTok, you can use the built-in effects. Here’s an easy tutorial on how to do it:
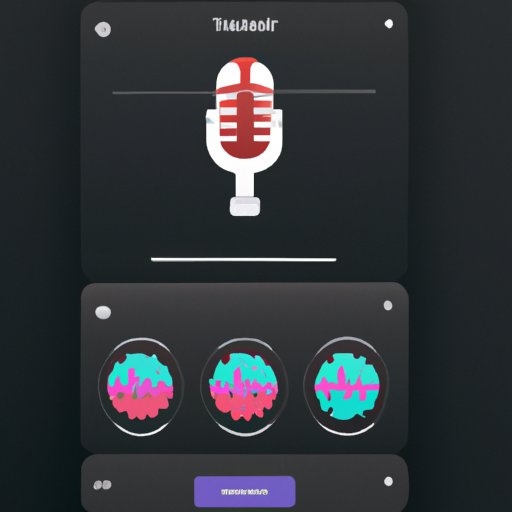
Utilizing the Built-in Effects in TikTok
Open the TikTok app and select the video you want to edit. Tap the “Effects” button at the top of the screen and select “Robotic Voice” from the list of available effects. This will open a menu of robotic voice presets. Choose one and adjust the settings to get the perfect sound.
Adjusting the Pitch and Speed Settings
Once you’ve chosen a preset, you can adjust the pitch and speed settings. Use the slider to increase or decrease the speed, and use the pitch slider to adjust the pitch. Experiment with different settings until you find a sound that you like.
Adding Reverb and Delay Effects
To add some extra depth to your robotic voice effect, try adding reverb and delay effects. These effects can help give your voice a more robotic feel. To add them, tap the “Effects” button again, then select either “Reverb” or “Delay” from the list of available effects.
Get Creative with Your Voice: How to Add a Robotic Effect to Your TikTok Clips
Now that you know how to create a robotic voice effect using TikTok’s built-in effects, it’s time to get creative. Here are some tips for adding a robotic effect to your TikTok clips:
Using Filters
Filters can be used to create a robotic sound. Try experimenting with different filters to find one that works for your clip. You can also adjust the strength of the filter to get the perfect sound.
Applying Vocal Processors
Vocal processors are another great way to add a robotic effect to your clips. They can be used to manipulate the pitch, speed, and other aspects of the recording. Look for vocal processors with adjustable parameters so you can customize the sound.
Experimenting with Different Effect Types
Finally, don’t be afraid to experiment with different effect types. You can use distortion, phaser, flanger, chorus, and other types of effects to create a unique robotic sound. Play around with different settings and see what works best for your video.
The Ultimate Guide to Making Your Voice Sound Like a Robot on TikTok
If you’re looking for more ways to make your voice sound like a robot on TikTok, there are plenty of online resources you can use. From tutorials to plugins and apps, you can find everything you need to create the perfect robotic voice effect.
Exploring Online Resources
There are lots of online resources available to help you create a robotic voice effect on TikTok. Look for tutorials, blogs, and forums to learn more about the process. Additionally, check out YouTube videos and audio samples for inspiration.
Utilizing Apps and Plugins
Apps and plugins can be used to add a robotic effect to your recordings. Look for plugins and apps that offer a wide range of features and adjustable parameters. This will allow you to get the most out of your recordings.
Tips for Getting the Best Results
Finally, here are some tips for getting the best results when creating a robotic voice effect on TikTok:
- Record your voice in a quiet environment.
- Take your time and experiment with different settings.
- Use headphones to block out background noise.
- Be creative and try new ideas.
Conclusion
Robotic voice effects can be a great way to add a unique touch to your TikTok videos. By following the steps outlined in this article, you can easily create a robotic voice effect on TikTok. Setting up your recording device, adjusting the pitch and speed settings, utilizing built-in effects, exploring online resources, and utilizing apps and plugins are all great ways to get started. With a little practice, you can create amazing robotic voice effects for your TikTok videos.
Summary of Steps Taken
In this article, we explored how to create a robotic voice effect on TikTok. We discussed setting up your recording device, recording your voice, adjusting the pitch and speed settings, adding effects to create a robotic voice, utilizing autotune apps, using filters and vocal processors, and exploring online resources. We also provided easy tutorials and tips for getting the best results.
Final Thoughts
Creating a robotic voice effect on TikTok can be a great way to stand out from the crowd. With the right tools and some creativity, you can easily add a robotic voice effect to your videos.
(Note: Is this article not meeting your expectations? Do you have knowledge or insights to share? Unlock new opportunities and expand your reach by joining our authors team. Click Registration to join us and share your expertise with our readers.)