Introduction
Bridging exercises are an effective way to strengthen your core and glutes, improve posture and balance, and increase flexibility in your hips, legs, and back. By performing these exercises regularly, you can boost your overall fitness level and reduce the risk of injury. In this article, we will take a closer look at the different types of bridging exercises, demonstrate basic bridging movements, show you how to progress from beginner to advanced levels, and provide safety tips for practicing bridging exercises.

Different Types of Bridging Exercises
There are several different types of bridging exercises that can be performed for a variety of fitness goals. Here are some of the most popular:
Static Bridge
The static bridge is the most basic form of bridging exercise. To perform this move, lie on your back with your feet flat on the floor and your knees bent. Lift your hips off the floor and hold the position for 10 to 30 seconds. Make sure to keep your core engaged and your body in a straight line from your shoulders to your knees.
Dynamic Bridge
The dynamic bridge is a more advanced version of the static bridge. To perform this move, start by lying on your back with your feet flat on the floor and your knees bent. Lift your hips off the floor, then slowly lower them back down. Repeat this movement 10 to 15 times.
Single Leg Bridge
The single leg bridge is a great way to challenge your balance and stability. To perform this move, lie on your back with one foot flat on the floor and one knee bent. Lift your hips off the floor and extend your raised leg straight out. Hold the position for 10 to 30 seconds, then switch sides.
Plank Bridge
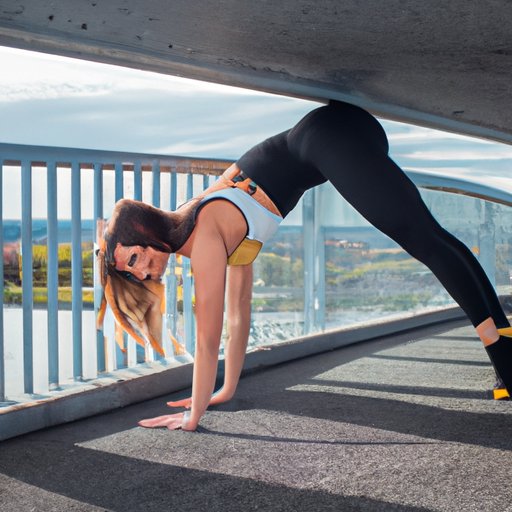
The plank bridge is an advanced bridging exercise that requires a lot of core strength and stability. To perform this move, start in a plank position with your hands directly beneath your shoulders. Lift your hips off the ground and hold the position for 10 to 30 seconds. Make sure to keep your core engaged and your body in a straight line from your shoulders to your toes.
Demonstrating Basic Bridging Movements
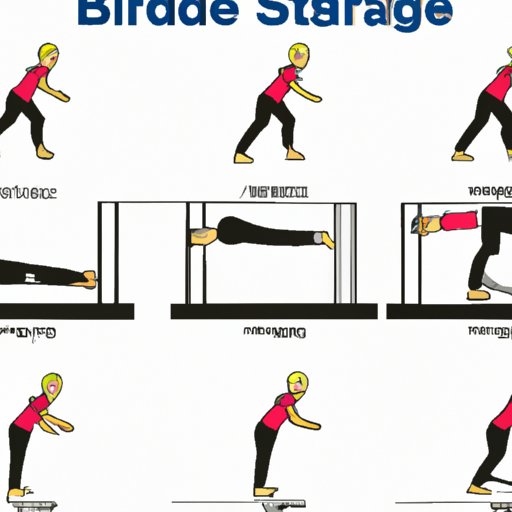
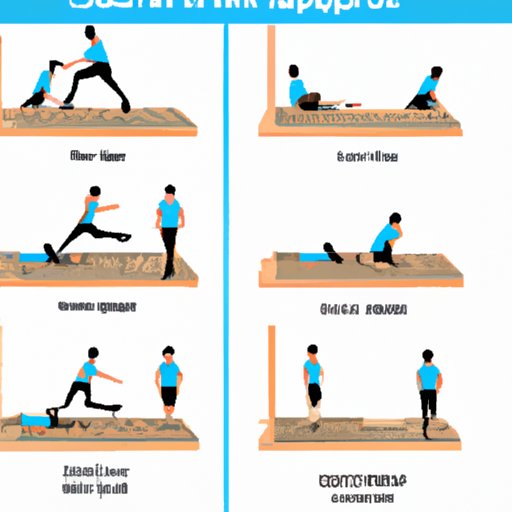
It’s important to make sure that you are performing each bridging exercise correctly in order to get the maximum benefit and avoid injury. Here are some step-by-step instructions and images or video demonstrations to help you learn the basics:
Static Bridge
To perform the static bridge, begin by lying on your back with your feet flat on the floor and your knees bent. Place your arms alongside your body with your palms facing down. Engage your core and press your heels into the floor as you lift your hips off the ground. Hold the position for 10 to 30 seconds, then slowly lower your hips back down to the floor.
Dynamic Bridge
To perform the dynamic bridge, begin by lying on your back with your feet flat on the floor and your knees bent. Place your arms alongside your body with your palms facing down. Engage your core and press your heels into the floor as you lift your hips off the ground. Slowly lower your hips back down, then repeat the movement 10 to 15 times.
Single Leg Bridge
To perform the single leg bridge, begin by lying on your back with one foot flat on the floor and one knee bent. Place your arms alongside your body with your palms facing down. Engage your core and press your heel into the floor as you lift your hips off the ground. Extend your raised leg straight out and hold the position for 10 to 30 seconds, then switch sides.
Plank Bridge
To perform the plank bridge, begin in a plank position with your hands directly beneath your shoulders. Engage your core and press your heels into the ground as you lift your hips off the ground. Hold the position for 10 to 30 seconds, then slowly lower your hips back down to the floor.

Progressing from Beginner to Advanced Bridging
Once you have mastered the basic movements of bridging, you can start to progress to more challenging variations. Here are some tips for progressing from beginner to advanced levels:
- Start with shorter holds and fewer repetitions, and gradually increase the duration and number of reps.
- Add weight to increase the difficulty of the exercise.
- Try different variations of each exercise to challenge your body in new ways.
- Focus on proper form and technique to maximize the benefits of the exercise.

Incorporating Bridging Into a Workout Routine
Bridging exercises can be incorporated into any workout routine to add variety and challenge your body in new ways. Here are some suggested routines:
- Add 1 to 2 sets of 8 to 12 reps of each exercise to your warm up.
- Perform 3 sets of 10 to 15 reps of each exercise as part of your regular strength training routine.
- Include 1 to 2 sets of 10 to 20 reps of each exercise as part of your HIIT (High Intensity Interval Training) workout.
Variations and Modifications for Different Levels of Fitness
Bridging exercises can be adapted for different levels of fitness. Here are some variations and modifications for beginners and advanced levels:
Adaptations for Beginners
Beginners can start by performing the basic movements with no added weight or resistance. They can also modify the exercises by using a wall or chair for support. Alternatively, they can reduce the duration and number of reps until they build up enough strength and stamina to complete the full set.
Challenges for Advanced Levels
Advanced exercisers can add weights, use bands for resistance, or try more challenging variations such as single leg bridges and plank bridges. They can also increase the duration and number of reps to push themselves further.
Safety Tips for Practicing Bridging Exercises
When practicing bridging exercises, it’s important to follow proper form and technique in order to maximize the benefits and minimize the risk of injury. Here are some safety tips to keep in mind:
- Make sure to maintain proper form throughout the exercise.
- Warm up before each session and cool down afterwards.
- Take rest periods between sets to allow your muscles to recover.
Conclusion
Bridging exercises are an effective way to strengthen your core and glutes, improve posture and balance, and increase flexibility in your hips, legs, and back. By following the step-by-step instructions and safety tips outlined in this article, you can learn how to do bridging exercises and incorporate them into your workout routine.
(Note: Is this article not meeting your expectations? Do you have knowledge or insights to share? Unlock new opportunities and expand your reach by joining our authors team. Click Registration to join us and share your expertise with our readers.)
