Introduction
A science fair project board is an essential part of any science fair presentation. It is used to display important information about a project, such as its objective, methodology, results, and conclusions. The board also serves as a visual aid to help presenters explain their project to judges and viewers. Creating a successful science fair project board requires careful planning and attention to detail.
This article will provide a comprehensive guide on how to create a science fair project board. It will discuss the necessary materials, design tips, essential elements, and creative ideas for making the board visually engaging. It will also provide advice on choosing the right board type and using labels and captions effectively.
Step-by-Step Guide on Creating a Science Fair Project Board
Creating a science fair project board is not difficult if you follow these steps:
Gather Necessary Materials
Before you begin designing your board, it’s important to gather all the necessary materials. You’ll need a board, adhesive, scissors, markers, and any other materials needed for the project. Make sure to have enough materials for both the design and presentation of the project.
Select a Board Size and Type
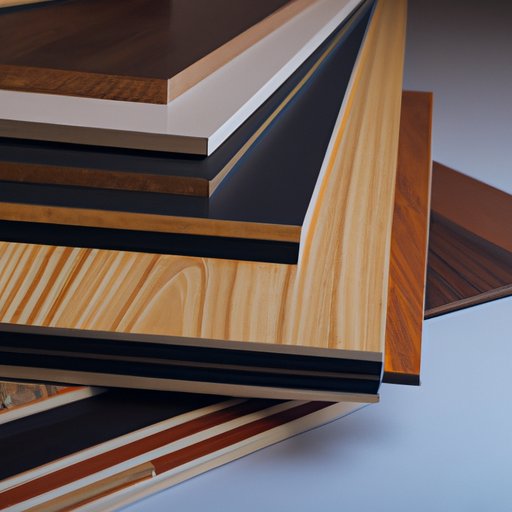
Once you have the necessary materials, you can select the size and type of board that best fits your project. Different types of boards are available, including foam core boards, poster boards, and tri-fold boards. Consider the size of your project when selecting the board. For example, if you’re working on a large project, you may want to use a foam core board. Smaller projects may be better suited to a poster board.
Design the Layout of the Board
Once you’ve selected the board, you can start designing the layout. Begin by sketching out a rough outline of the board. This will help you visualize the overall look of the board and plan where to place the visuals. When designing the layout, make sure to leave enough space for labels and captions.
Add Visuals to the Board
When creating a science fair project board, visuals are key. They help to explain the project in a more engaging way than words alone. Consider using graphs, charts, images, and diagrams to illustrate the project’s purpose and findings. Be sure to use visuals that are relevant to the project and easy to understand.
Essential Elements of a Successful Science Fair Project Board
In order to create a successful science fair project board, there are certain elements that must be included. These elements include a clear objective, clear labeling, concise captions, and engaging visuals.
Clear Objective
The first element of a successful science fair project board is a clear objective. This should be stated clearly and concisely at the top of the board. It should give an overview of the project and what it aims to achieve. According to research from the National Science Teachers Association, “The scientific method relies on testing and experimentation, so the objective should focus on what you are trying to learn or determine.”
Clear Labeling
The next element of a successful science fair project board is clear labeling. Each section of the board should be labeled clearly so viewers can easily identify the different parts of the project. This includes the title, introduction, methods, results, and conclusion. Labels should be written in a font that is easy to read and should be placed prominently on the board.
Concise Captions
Captions are an important part of any science fair project board. They should be concise and informative, providing additional information about the project. Captions should be written in a font that is easy to read and should be placed near the relevant visuals on the board.
Engaging Visuals
Finally, a successful science fair project board should include engaging visuals. Visuals can help to explain the project in a more engaging way than words alone. Consider using graphs, charts, images, and diagrams to illustrate the project’s purpose and findings. Be sure to use visuals that are relevant to the project and easy to understand.

Different Types of Boards Available and How to Choose the Right One for Your Project
There are several types of boards available for science fair project presentations. Each type has its own advantages and disadvantages, so it’s important to consider which one is best for your project.
Foam Core Boards
Foam core boards are a popular choice for science fair projects. They are lightweight, durable, and come in a variety of sizes. Foam core boards are also easy to work with, allowing for more detailed designs. However, they can be expensive and may not be suitable for smaller projects.
Poster Boards
Poster boards are another option for science fair project boards. They are inexpensive and come in a variety of colors and sizes. Poster boards are also lightweight and easy to transport. However, they may not be suitable for larger projects due to their limited size.
Tri-Fold Boards
Tri-fold boards are a great option for science fair projects. They are lightweight, portable, and come in a variety of sizes. Tri-fold boards are also relatively inexpensive and allow for more detailed designs. However, they may not be suitable for larger projects due to their limited size.
Tips on Choosing the Right Board
When choosing a board for a science fair project, consider the size and scope of the project. Larger projects may require a foam core board, while smaller projects may be better suited to a poster board or tri-fold board. Also, consider the budget and time constraints of the project. Foam core boards may be more expensive but may also save time in the long run.
Creative Ways to Display Data, Charts, and other Visuals on the Board
Visuals are an important part of any science fair project board. They help to explain the project in a more engaging way than words alone. Here are some creative ideas for displaying data, charts, and other visuals on the board.
Using Graphs and Charts
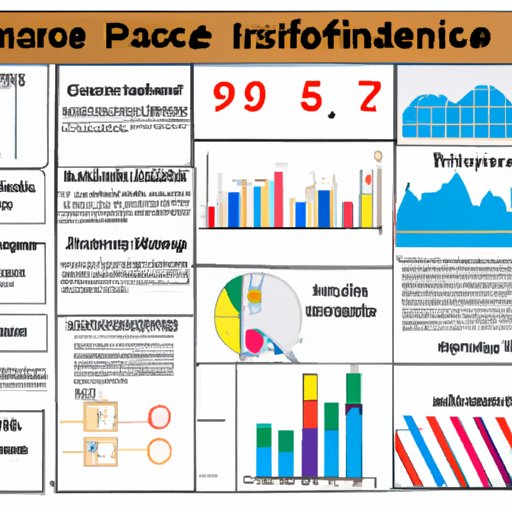
Graphs and charts are a great way to display data in an organized and visually appealing way. Consider using bar graphs, line graphs, pie charts, and other types of visuals to illustrate trends and patterns in the data. Be sure to label each graph or chart clearly and include a caption to explain what it represents.
Incorporating Images
Images are a great way to add a visual element to the board. Consider using photographs, illustrations, or other graphics to illustrate the project’s findings. Be sure to label each image clearly and include a caption to explain what it represents.
Utilizing Diagrams
Diagrams are another useful tool for displaying data. Consider using diagrams to illustrate processes, experiments, or other aspects of the project. Be sure to label each diagram clearly and include a caption to explain what it represents.

Making the Board Presentation Visually Engaging
When creating a science fair project board, it’s important to make it visually engaging. This will help to draw viewers in and keep them interested in the project. Here are some tips for making the board presentation visually engaging.
Color Coding
Using color coding is a great way to make the board presentation visually engaging. Consider assigning a different color to each section of the board. This will help to organize the information and make it easier to read. You can also use color coding to highlight key points and draw attention to important visuals.
Aligning Elements
Another way to make the board presentation visually engaging is to align elements. This means making sure that visuals, labels, and captions are aligned in a consistent manner. Aligning elements helps to create a sense of balance and gives the board a more professional look.
Using Fonts Strategically
Using fonts strategically is also important for making the board presentation visually engaging. Choose fonts that are easy to read and that complement the theme of the project. Avoid using too many different fonts, as this can make the board look cluttered and unprofessional.

Best Practices for Labeling the Board and Adding Captions
When labeling the board and adding captions, there are some best practices to follow. These include choosing the right font, making labels clear and concise, and including all relevant information.
Choosing the Right Font
Choosing the right font is essential for labeling the board and adding captions. Choose a font that is easy to read and that complements the theme of the project. Avoid using decorative fonts, as they can make the board look cluttered and unprofessional.
Making Labels Clear and Concise
Make sure to keep labels and captions clear and concise. Be sure to include only the most relevant information and avoid using unnecessary words. This will help to make the board easier to read and understand.
Including All Relevant Information
Finally, make sure to include all relevant information on the board. This includes the project’s objective, methodology, results, and conclusion. Be sure to include all relevant visuals and labels, as well as any additional information that may be helpful to viewers.
Using the Board to Effectively Communicate the Project’s Objective
The goal of a science fair project board is to effectively communicate the project’s objective. To do this, it’s important to summarize the goal in one sentence, highlight the key points, and explain the process. This will help viewers to quickly understand the project’s purpose and how it was conducted.
Summarizing the Goal in One Sentence
Start by summarizing the project’s goal in one sentence. This should be placed at the top of the board and should be written in a font that is easy to read. This will help viewers to quickly understand the project’s purpose.
Highlighting the Key Points
Next, highlight the key points of the project. Consider using color coding or bold font to draw attention to the most important information. This will help viewers to quickly understand the project’s findings and conclusions.
Explaining the Process
Finally, explain the process of the project. Include visuals, labels, and captions to illustrate the steps involved in conducting the experiment. This will help viewers to understand how the project was conducted and how the results were obtained.
Conclusion
Creating a successful science fair project board requires careful planning and attention to detail. This article has provided a comprehensive guide on how to create a science fair project board. It discussed the necessary materials, design tips, essential elements, and creative ideas for making the board visually engaging. It also provided advice on choosing the right board type and using labels and captions effectively. Finally, it offered tips on using the board to effectively communicate the project’s objective.
By following these steps and using the tips outlined in this article, you can create a successful science fair project board that will wow judges and viewers alike.
(Note: Is this article not meeting your expectations? Do you have knowledge or insights to share? Unlock new opportunities and expand your reach by joining our authors team. Click Registration to join us and share your expertise with our readers.)
