Introduction
Well disinfection is a crucial process for keeping your water supply safe and free from harmful contaminants. It is important to regularly inspect and clean your well, as well as maintain proper sanitation measures to ensure that the water you are drinking is safe and healthy. In this article, we will explore the different methods of disinfecting a well and provide step-by-step instructions on how to use each one.

Use a Well Disinfection Kit to Clean and Sanitize
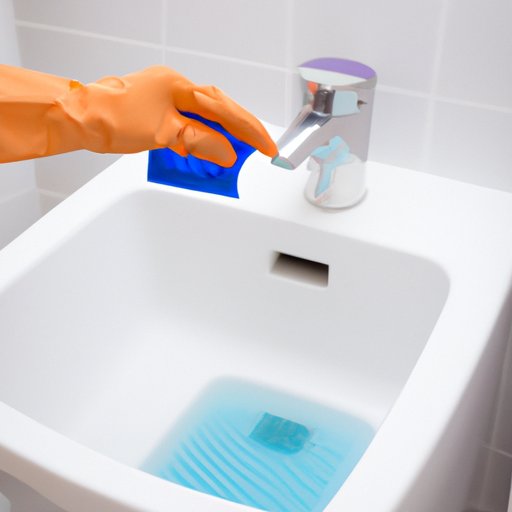
A well disinfection kit is an easy and convenient way to keep your well clean and sanitized. The kits typically include a combination of chlorine tablets, detergents, and other cleaning agents. Here is a step-by-step guide on how to use a well disinfection kit:
- Step 1: Put on protective gloves and safety glasses before beginning.
- Step 2: Open the well disinfection kit and read the instructions thoroughly.
- Step 3: Prepare the solution according to the instructions in the kit.
- Step 4: Pour the solution into the well and let it sit for the recommended amount of time.
- Step 5: Flush the well with clean water to remove any residue.
- Step 6: Repeat the process if necessary.
Utilizing Chlorine Bleach for Disinfection
Chlorine bleach is another effective method for disinfecting a well. However, it is important to take certain safety precautions when using chlorine bleach, as it can be dangerous if not handled correctly. Here is a step-by-step guide on how to use chlorine bleach for well disinfection:
- Step 1: Put on protective gloves and safety glasses before beginning.
- Step 2: Measure out 1 gallon of chlorine bleach and pour it into the well.
- Step 3: Let the chlorine bleach sit in the well for 12 hours.
- Step 4: After 12 hours, flush the well with clean water to remove any residue.
- Step 5: Repeat the process if necessary.
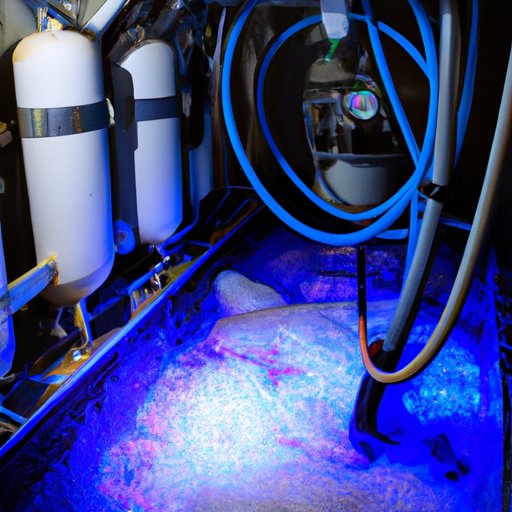
Installing an Ultraviolet (UV) Light System
Installing an ultraviolet (UV) light system is another effective way to disinfect a well. UV light systems are designed to kill bacteria, viruses, and other microorganisms that may be present in the water. Here is a step-by-step guide on how to install a UV light system:
- Step 1: Shut off the power to the well pump.
- Step 2: Install the UV light system according to the manufacturer’s instructions.
- Step 3: Connect the UV light system to the well pump.
- Step 4: Test the system to make sure it is functioning properly.
- Step 5: Turn on the power to the well pump and allow the system to operate.
Applying Hydrogen Peroxide to the Well
Hydrogen peroxide is a powerful oxidizing agent that can be used to disinfect a well. It is important to use caution when applying hydrogen peroxide, as it can be dangerous if not handled correctly. Here is a step-by-step guide on how to apply hydrogen peroxide to the well:
- Step 1: Put on protective gloves and safety glasses before beginning.
- Step 2: Measure out 1 gallon of hydrogen peroxide and pour it into the well.
- Step 3: Let the hydrogen peroxide sit in the well for 12 hours.
- Step 4: After 12 hours, flush the well with clean water to remove any residue.
- Step 5: Repeat the process if necessary.
Employing Ozone Treatment
Ozone treatment is an effective way to disinfect a well. Ozone is a powerful oxidizing agent that is capable of killing bacteria, viruses, and other microorganisms. Here is a step-by-step guide on how to use ozone treatment for well disinfection:
- Step 1: Put on protective gloves and safety glasses before beginning.
- Step 2: Set up the ozone generator according to the manufacturer’s instructions.
- Step 3: Connect the ozone generator to the well pump.
- Step 4: Set the ozone generator to the recommended settings.
- Step 5: Allow the ozone generator to run for the recommended amount of time.
- Step 6: Flush the well with clean water to remove any residue.
- Step 7: Repeat the process if necessary.

Utilizing Potassium Permanganate for Disinfection
Potassium permanganate is another effective method for disinfecting a well. It is important to use caution when handling potassium permanganate, as it can be dangerous if not handled correctly. Here is a step-by-step guide on how to use potassium permanganate for well disinfection:
- Step 1: Put on protective gloves and safety glasses before beginning.
- Step 2: Measure out 1 gallon of potassium permanganate and pour it into the well.
- Step 3: Let the potassium permanganate sit in the well for 12 hours.
- Step 4: After 12 hours, flush the well with clean water to remove any residue.
- Step 5: Repeat the process if necessary.
Conclusion
Well disinfection is an important process for ensuring that your water supply is safe and free from harmful contaminants. There are several different methods for disinfecting a well, including using a well disinfection kit, chlorine bleach, ultraviolet light system, hydrogen peroxide, ozone treatment, and potassium permanganate. Each method has its own advantages and disadvantages, so it is important to do your research and choose the best option for your particular situation. By following the steps outlined in this article, you can easily and effectively disinfect your well and ensure that your water supply is safe and healthy.
(Note: Is this article not meeting your expectations? Do you have knowledge or insights to share? Unlock new opportunities and expand your reach by joining our authors team. Click Registration to join us and share your expertise with our readers.)