Introduction
Film development is the process of taking exposed photographic film and turning it into a printed photograph. It involves many different steps, from researching the type of film and necessary equipment to loading the film onto a reel and developing it in a darkroom. This article provides a comprehensive guide on how to develop film into pictures, including purchasing supplies, setting up a darkroom and printing onto photographic paper.
Researching the Type of Film and Necessary Equipment
The first step in developing film into pictures is researching the type of film that will be used and the necessary equipment. There are several types of film available, including black and white, color negative and slide film. Each type requires different chemicals and equipment for the development process, so it’s important to research what is needed before starting.
In addition to the type of film, there are other pieces of equipment that are necessary for the development process. These include a changing bag, reels, tanks, thermometer, safe light source, timer and sink. Once the necessary equipment has been researched, it’s time to purchase the supplies.
Purchasing Supplies
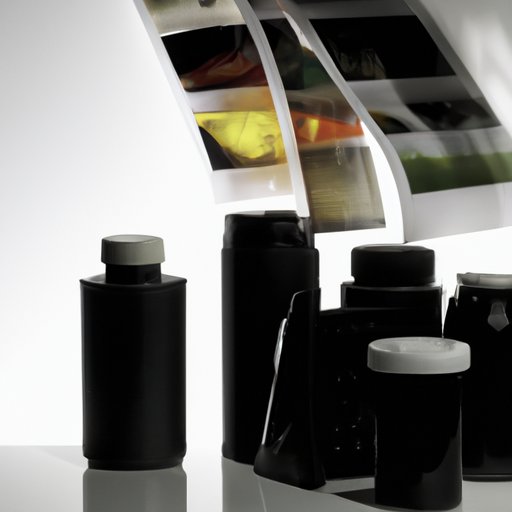
Once the type of film and necessary equipment have been researched, it’s time to purchase the necessary supplies. The main supplies that will need to be purchased are the chemicals, tanks and other supplies needed for the development process. It’s important to make sure that the chemicals used are compatible with the type of film being used. Additionally, it’s important to make sure that the tanks are large enough to fit the amount of film being developed.
In addition to the chemicals and tanks, there are other supplies that may be needed. These include measuring cups, stirring rods, tongs, and an acid stop bath. It’s important to make sure that all of these supplies are properly stored and labeled, as they can easily become contaminated if not handled correctly.
Setting Up a Darkroom
The next step in developing film into pictures is setting up a darkroom. A darkroom is a room that is completely free from light, and is essential for developing film. In order to ensure complete darkness, it’s important to make sure that all windows and doors are tightly sealed and that no light is entering the room. Additionally, it’s important to use a safe light source in the darkroom, such as a red or orange bulb.
It’s also important to set up a sink in the darkroom. This will be used to rinse off the film after it has been developed, as well as to clean any equipment that has been used. Finally, it’s important to make sure that the temperature of the darkroom is kept at a consistent level throughout the development process.

Loading the Film Onto a Reel
Once the darkroom is set up, it’s time to load the film onto a reel. This must be done in complete darkness, as any exposure to light can damage the film. It’s important to make sure that the film is loaded onto the reel properly, as any mistakes could result in poor results. Additionally, it’s important to make sure that the film does not become twisted or tangled during the loading process.
Developing the Film
Once the film is loaded onto the reel, it’s time to start the development process. This involves following the instructions provided by the manufacturer of the film, as different types of film require different chemicals and temperatures. Additionally, it’s important to make sure that the chemicals are mixed properly and that the temperature of the darkroom is kept at the correct level. Once the development process is complete, the film should be rinsed off and allowed to dry.
Enlarging Negatives and Printing
Once the film has been developed, it’s time to enlarge the negatives and print them onto photographic paper. This is done using an enlarger, which projects an image onto the paper. The size of the image can be adjusted by moving the enlarger closer or further away from the paper. Additionally, the contrast and brightness of the image can be adjusted using filters.
Once the image has been adjusted, it’s time to print it onto photographic paper. This is done by exposing the paper to the light from the enlarger. After the paper has been exposed, it should be developed in a separate chemical bath and then washed and dried. Once the paper has been dried, the image is ready to be framed or displayed.
Conclusion
Developing film into pictures is a complex process, but one that can be rewarding when done properly. By researching the type of film and necessary equipment, purchasing the necessary supplies and setting up a darkroom, anyone can learn how to develop their own film into pictures. From loading the film onto a reel to enlarging negatives and printing onto photographic paper, this article has provided a comprehensive guide on how to develop film into pictures.
(Note: Is this article not meeting your expectations? Do you have knowledge or insights to share? Unlock new opportunities and expand your reach by joining our authors team. Click Registration to join us and share your expertise with our readers.)