Introduction
Maintaining a litter box for your pet can be a daunting task. With the advancement of technology, automatic litter boxes have made it easier for pet owners to keep their boxes clean without having to scoop waste manually. One of the most popular types of automatic litter boxes is the Litter Robot. This device requires very little maintenance, but occasionally needs to be deep cleaned to ensure it continues to run smoothly.
The purpose of this article is to provide a step-by-step guide on how to deep clean your Litter Robot. We will cover the basics of disassembling and reassembling the unit, vacuuming, cleaning the interior and exterior surfaces, sanitizing with vinegar, and more.
Start with the Basics: Unplug and Disassemble the Litter Robot
Before you begin the deep cleaning process, make sure to unplug the unit from its power source. This is an important safety measure that should not be overlooked.
Once the unit is unplugged, you can begin to disassemble it. Start by removing the plastic dome from the top of the unit. You may need to use a screwdriver to loosen any screws that are holding the dome in place. Next, remove the waste drawer and receptacle from the bottom of the unit. Set these aside for later.
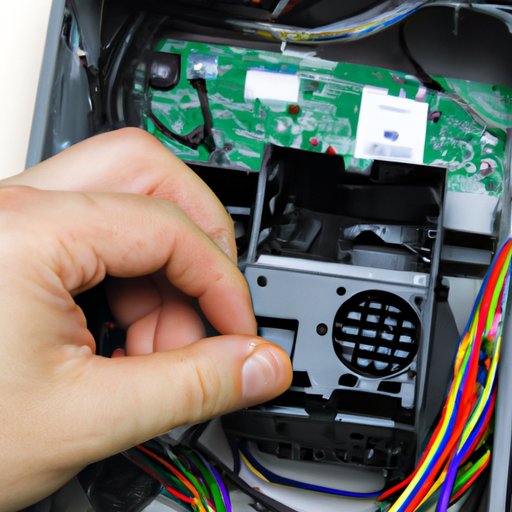
Thoroughly Vacuum the Unit, Paying Close Attention to Motors and Sensors
Using a handheld vacuum cleaner, thoroughly vacuum the inside of the unit, paying close attention to any motors or sensors. Be sure to get into all the nooks and crannies that can easily be missed. If you need to reach tight spaces, try using a soft brush attachment for the vacuum.
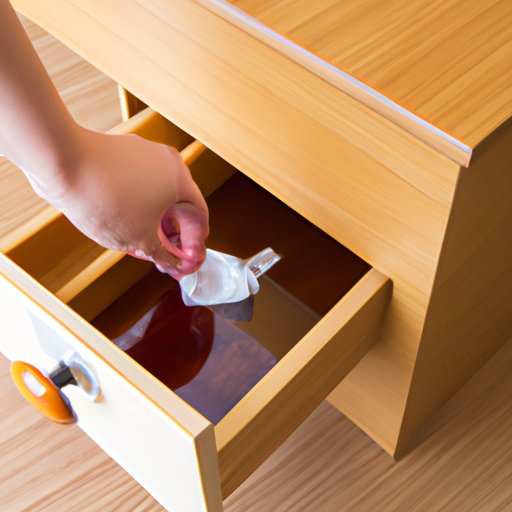
Clean Out Any Clumped Waste in the Drawer and Receptacle
Once the interior of the unit is cleaned, it’s time to focus on the waste drawer and receptacle. Remove any clumped waste that may have accumulated in either of these components. Make sure to dispose of the waste properly – never flush it down the toilet, as it can cause plumbing issues.
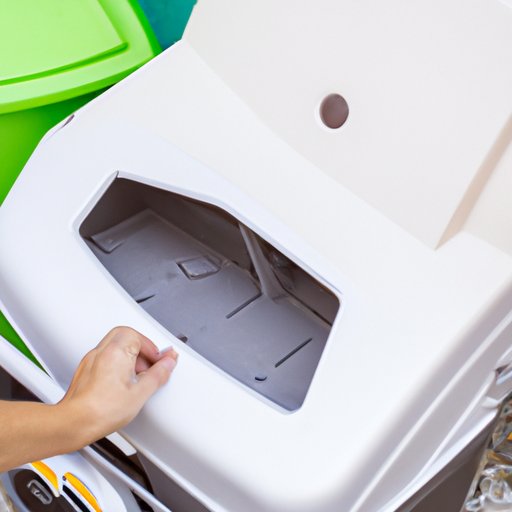
Wipe Down All Interior and Exterior Surfaces with a Disinfectant
Using a mild disinfectant, wipe down all interior and exterior surfaces of the unit. It’s especially important to pay attention to areas where your pet has direct contact with the unit, such as the opening and entrance. For best results, use a disinfectant that is designed for pet use, such as Nature’s Miracle Pet Stain and Odor Remover.
Sanitize the Drawer and Receptacle with Vinegar
To further eliminate any bacteria or germs that may be lingering in the waste drawer and receptacle, fill each component with equal parts white vinegar and warm water. Allow the solution to sit for 10 minutes before emptying and rinsing with clean water.
Clean the Outer Shell of the Litter Robot with a Mild Detergent
Using a mild detergent, such as dish soap, clean the outer shell of the unit. Avoid using harsh chemicals or abrasive cleaners, as these can damage the plastic surface of the unit. Once the shell is clean, rinse it off with clean water.
Reassemble the Unit and Plug It Back In
Once all the components of the unit have been cleaned and dried, it’s time to reassemble the unit. Carefully place the waste drawer and receptacle back into the unit, making sure they are securely in place. Place the plastic dome back onto the top of the unit and secure it with the screws. Finally, plug the unit back into its power source.
Conclusion
Deep cleaning your Litter Robot is a simple process that shouldn’t take more than 30 minutes. The key is to make sure to thoroughly vacuum the unit, clean out any clumped waste, wipe down all surfaces with a disinfectant, sanitize the drawer and receptacle with vinegar, and clean the outer shell with a mild detergent. Following these steps will ensure that your Litter Robot continues to operate at peak performance.
(Note: Is this article not meeting your expectations? Do you have knowledge or insights to share? Unlock new opportunities and expand your reach by joining our authors team. Click Registration to join us and share your expertise with our readers.)