Introduction
Cleaning your litter robot is an important part of keeping your pet healthy and happy. Regular maintenance and deep cleaning can help extend the life of the robot and reduce smells and odors in your home. But what does it take to deep clean a litter robot? In this article, we explore the steps involved in cleaning your litter robot from top to bottom.
Make a Plan of Attack
Before you get started, it’s important to make a plan of attack. First, identify all the areas that need to be cleaned. Make sure to include all parts of the litter robot, including the waste receptacle, lid, and scoop. Next, create a timeline for completing each task. This will help you stay organized and focused as you work.
Empty Contents and Dispose of Waste
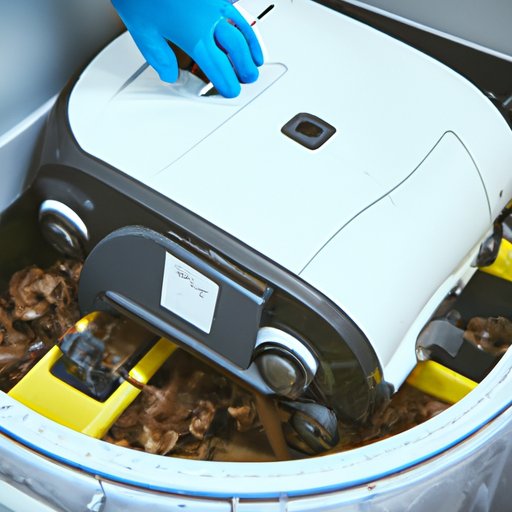
The first step in deep cleaning your litter robot is to empty the contents and dispose of any waste. The best way to do this is to use a plastic bag or container to catch the waste. Once you have the waste in a bag or container, it can be disposed of in the trash. It’s important to remember to always wash your hands after handling waste. According to the Centers for Disease Control and Prevention (CDC), “It is important to practice proper hygiene after contact with pet waste because some parasites and bacteria that can be found in pet waste can cause disease in people.”
Disassemble and Remove Debris
Once the waste has been removed, it’s time to disassemble the litter robot. Take apart the different components including the lid, waste receptacle, and scoop. While doing this, look for any debris or build-up that may have accumulated. This could include pet hair, dust, or dirt. If you find any debris, use a damp cloth to remove it.
Clean All Surfaces
Once all the debris has been removed, it’s time to clean the surfaces of the litter robot. Use a mild soap and warm water to clean all the surfaces. Make sure to focus on removing any odors or stains. After cleaning, rinse the surfaces with warm water and dry with a clean cloth.
Sanitize Litter Robot
The next step is to sanitize the litter robot. To do this, use a disinfectant or bleach solution. Follow the manufacturer’s instructions for mixing the solution and using it on the litter robot. Allow the solution to sit on the surfaces for the recommended amount of time before rinsing and drying.
Lubricate Moving Parts
After the surfaces are clean and dry, it’s time to lubricate the moving parts of the litter robot. Use a lightweight oil or grease to lubricate the moving parts. This will help ensure the proper functioning of the machine. Be sure to follow the manufacturer’s instructions when applying the lubricant.
Reassemble and Test
Once all the parts are clean and lubricated, it’s time to put the litter robot back together. Carefully put the parts back in their proper place and make sure everything is secure. Once the robot is reassembled, test it to make sure it is working correctly.
Conclusion
Deep cleaning your litter robot is an important part of keeping your pet healthy and safe. By following these steps, you can ensure your machine is functioning properly and safely. Start by making a plan of attack and then work through the process of emptying the contents and disposing of waste, disassembling and removing debris, cleaning surfaces, sanitizing, lubricating, and reassembling and testing. Regular maintenance and deep cleaning can help extend the life of your litter robot and keep your home smelling fresh.
(Note: Is this article not meeting your expectations? Do you have knowledge or insights to share? Unlock new opportunities and expand your reach by joining our authors team. Click Registration to join us and share your expertise with our readers.)