Introduction
Facebook Business Manager is a great way to manage your business’s presence on the world’s largest social media platform. With Facebook Business Manager, you can easily create and manage multiple ad accounts, pages, and other assets associated with your business. One of the most important features of Facebook Business Manager is the ability to create a new ad account for your business. In this article, we will explore how to create a new ad account in Facebook Business Manager, from the basics to more advanced techniques.

Overview of the Benefits of Setting Up a New Ad Account in Facebook Business Manager
Creating a new ad account in Facebook Business Manager has several advantages. First, it allows you to keep track of all of your campaigns in one place. This makes it easier to monitor performance, adjust budgets, and make other changes as needed. Second, it allows you to segment campaigns based on specific goals or audiences. This means that you can optimize your campaigns for maximum efficiency. Finally, it gives you the ability to take advantage of powerful targeting tools like Custom Audiences, Lookalike Audiences, and more.
Step-by-Step Guide on How to Create a New Ad Account in Facebook Business Manager
Creating a new ad account in Facebook Business Manager is a relatively straightforward process. Here are the steps you need to take:
Creating Your Ad Account
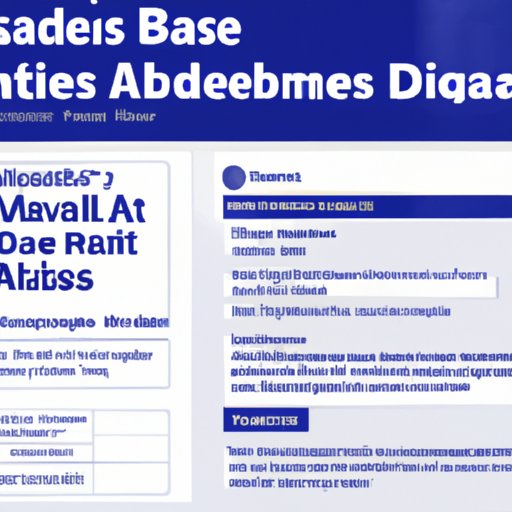
The first step is to create your ad account. To do this, log into your Facebook Business Manager account and click on “Ad Accounts” in the left-hand menu. Then, select “Create Ad Account” and follow the prompts to fill out the necessary information.
Linking Your Ad Account to Your Page
Once you have created your ad account, you will need to link it to your page. To do this, go to the “Ad Accounts” section of your Facebook Business Manager dashboard and select the ad account you just created. Then, click on “Link to Page” and follow the prompts to connect your page.
Setting Up Your Payment Method
The next step is to set up your payment method. To do this, go to the “Billing” tab in your ad account settings and select the payment method you want to use. You can choose from a variety of options, such as credit card, PayPal, or direct debit.

Comprehensive Tutorial on Creating a New Ad Account in Facebook Business Manager
Now that you have created your ad account and linked it to your page, you can start setting up your campaigns. Here are the steps you need to take:
Setting Up Your Audience
The first step is to set up your audience. This is where you define who you want to target with your ads. You can create a custom audience by entering demographic information, interests, behaviors, and other criteria. You can also create a lookalike audience based on existing customers or website visitors.
Choosing Campaign Types
Once you have defined your audience, you will need to choose the type of campaign you want to run. There are several different types of campaigns available, including reach and frequency, brand awareness, lead generation, and more. Select the one that best fits your goals.
Defining Your Budget
Next, you will need to set up your budget. This is where you decide how much you want to spend on each campaign. You can set a daily budget, or you can set a total budget for the entire campaign. Keep in mind that you don’t want to overspend, so be sure to set a reasonable budget.
Setting Up Your Ads
The final step is to set up your ads. This is where you create the actual ads that will be displayed to your target audience. You can choose from a variety of formats, including images, videos, and more. Once you have created your ads, you can set up automated rules to ensure that they are displayed at the right time and to the right people.

Visual Guide on Creating a New Ad Account in Facebook Business Manager
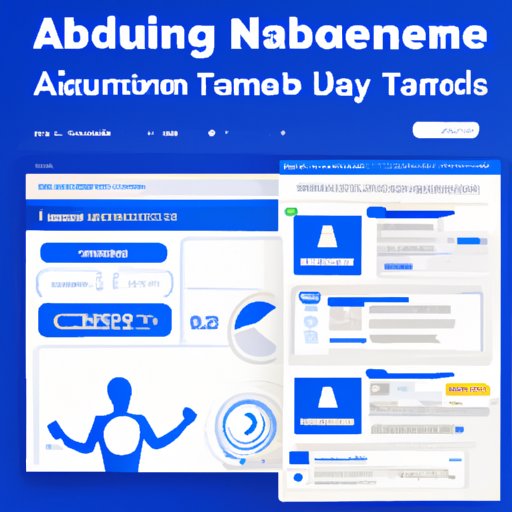
In addition to the steps outlined above, here is a visual guide on how to create a new ad account in Facebook Business Manager:
Creating Your Ad Account
The first step is to create your ad account. To do this, log into your Facebook Business Manager account and click on “Ad Accounts” in the left-hand menu. Then, select “Create Ad Account” and follow the prompts to fill out the necessary information.
Linking Your Ad Account to Your Page
Once you have created your ad account, you will need to link it to your page. To do this, go to the “Ad Accounts” section of your Facebook Business Manager dashboard and select the ad account you just created. Then, click on “Link to Page” and follow the prompts to connect your page.
Setting Up Your Payment Method
The next step is to set up your payment method. To do this, go to the “Billing” tab in your ad account settings and select the payment method you want to use. You can choose from a variety of options, such as credit card, PayPal, or direct debit.
Setting Up Your Audience
The first step is to set up your audience. This is where you define who you want to target with your ads. You can create a custom audience by entering demographic information, interests, behaviors, and other criteria. You can also create a lookalike audience based on existing customers or website visitors.
Choosing Campaign Types
Once you have defined your audience, you will need to choose the type of campaign you want to run. There are several different types of campaigns available, including reach and frequency, brand awareness, lead generation, and more. Select the one that best fits your goals.
Defining Your Budget
Next, you will need to set up your budget. This is where you decide how much you want to spend on each campaign. You can set a daily budget, or you can set a total budget for the entire campaign. Keep in mind that you don’t want to overspend, so be sure to set a reasonable budget.
Setting Up Your Ads
The final step is to set up your ads. This is where you create the actual ads that will be displayed to your target audience. You can choose from a variety of formats, including images, videos, and more. Once you have created your ads, you can set up automated rules to ensure that they are displayed at the right time and to the right people.
How to Quickly and Easily Create a New Ad Account in Facebook Business Manager
If you want to create a new ad account in Facebook Business Manager quickly and easily, there are a few tricks you can use. First, you can utilize templates to quickly create a basic structure for your campaigns. This will save you time and help you get started faster. Second, you can set up automated rules to ensure that your ads are being shown to the right people at the right times. Finally, you can utilize pre-made ads to save time and effort when creating your campaigns.
Conclusion
Creating a new ad account in Facebook Business Manager is a great way to manage your business’s presence on the world’s largest social media platform. By following the steps outlined in this article, you can quickly and easily create a new ad account and start running campaigns. Just remember to set up your audience, choose your campaign types, define your budget, and set up your ads. With these steps, you will be well on your way to success with your Facebook Business Manager ad account.
(Note: Is this article not meeting your expectations? Do you have knowledge or insights to share? Unlock new opportunities and expand your reach by joining our authors team. Click Registration to join us and share your expertise with our readers.)
