Introduction
Whether you’re planning a road trip or a long weekend getaway, having a map of your route can be invaluable. With Google Maps, you can easily plot out a course, add waypoints and detours, and even share your plans with family and friends. This article will explain how to create a Google Map for a trip, outline tips on optimizing your route, and showcase three examples of GPS-optimized trip maps.
What is a Google Map?
Google Maps is a digital mapping service developed by Google that allows users to view maps of locations around the world. It also offers features such as turn-by-turn navigation, satellite imagery, traffic data, and more. As of 2020, Google Maps has more than 1 billion monthly active users, making it one of the most popular navigation tools available (Source: Statista).
Why Create a Google Map for a Trip?
Creating a Google Map for a trip can help you stay organized and save time. You can easily plot out your route, add waypoints and detours, and even share your plans with family and friends. Plus, with the turn-by-turn navigation feature, you can receive voice-guided directions to your destination without having to worry about getting lost along the way.
Outline the Steps to Create a Google Map for a Trip
Creating a Google Map for a trip is easy and only takes a few simple steps. Here’s how to get started:
Log in to a Google Account
The first step to creating a Google Map for a trip is to log in to your Google account. If you don’t already have a Google account, you can sign up for free.
Access the “My Maps” Feature
Once you’ve logged in, you’ll need to access the “My Maps” feature. To do this, simply click the “My Maps” button located in the top right corner of the page. From here, you can start mapping your trip.
Start Mapping Your Trip
Now it’s time to start mapping your trip. You can do this by clicking “Create Map” and entering the starting point and ending point of your journey. You can also choose from multiple transportation options such as driving, walking, biking, and public transit.
Explain How to Plot Out a Route on a Google Map
Once you’ve entered the starting and ending points of your trip, you can begin plotting out your route. Here’s how:
Select Starting and Ending Points
The first step is to select the starting and ending points of your trip. You can do this by typing in the address or using the map to pinpoint the exact location. Once you’ve selected the starting and ending points, click “Next” to continue.
Choose from Multiple Transportation Options
Google Maps offers several different transportation options to choose from, including driving, walking, biking, and public transit. Simply select the option that best suits your needs and click “Next” to continue.
Set Waypoints Along the Route
If you want to add waypoints along your route, such as stops for food or sightseeing, you can do so by clicking the “Add Waypoint” button. This will allow you to enter the address or location of each waypoint and add it to your route.
Save the Route
Once you’ve plotted out your route, you can save it by clicking the “Save” button. This will allow you to access your route at any time and make changes if necessary.
Show How to Add Waypoints and Detours on a Trip Map
Adding waypoints and detours to a Google Map is easy and can help you explore new places and make the most of your trip. Here’s how to do it:
Change the Route by Adding Waypoints
If you want to change your route by adding waypoints, you can do so by clicking the “Add Waypoint” button. This will allow you to enter the address or location of each waypoint and add it to your route.
Add Detours to Explore New Places
Google Maps also allows you to add detours to explore new places. To do this, simply click the “Add Detour” button and enter the address or location of the detour. This will add it to your route and give you the opportunity to explore new places along the way.
Demonstrate How to Share a Google Map with Friends and Family
Sharing your Google Map with friends and family is easy and can help keep everyone on the same page. Here’s how to do it:
Invite People to View the Map
The first step is to invite people to view your map. To do this, simply click the “Share” button and enter the email addresses of the people you want to invite. They will then receive an invitation to view your map.
Share the Map with Others
You can also share your map with others by clicking the “Share” button and selecting the “Link” option. This will generate a link that you can copy and paste into emails, text messages, or social media posts.
Highlight Tips and Tricks for Optimizing a Trip Map
Once you’ve created your Google Map, there are a few tips and tricks you can use to optimize it. Here are some of the most helpful ones:
Use Color-Coding to Differentiate Locations
Using color-coding can help you quickly differentiate between different locations on your map. For example, you could use red for hotels, blue for restaurants, and green for attractions. This will make it easier to identify the different locations on your map.
Utilize Labels to Identify Locations
Labels can also be used to quickly identify locations on your map. For example, you could label hotels with the name of the hotel, restaurants with the type of cuisine, and attractions with the name of the attraction. This will make it easier to quickly identify the different locations on your map.
Include Photos and Other Visuals
Photos and other visuals can also be added to your map to make it more visually appealing. For example, you could add photos of the different locations on your map or include illustrations of the route you’re taking. This will make your map more interesting and engaging for those viewing it.
Showcase Examples of GPS-Optimized Trip Maps
Here are three examples of GPS-optimized trip maps:
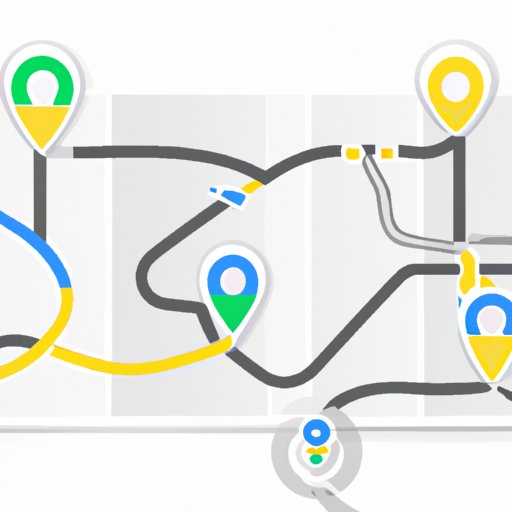
Sample Trip Map 1
This sample trip map includes color-coded pins to differentiate between different types of locations, labels to easily identify each location, and photos to make the map more visually appealing. This is a great example of how to optimize a Google Map for a trip.
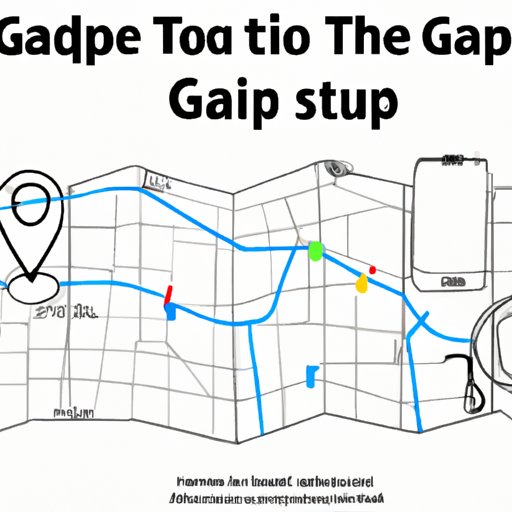
Sample Trip Map 2
This sample trip map includes waypoints and detours to explore new places and labels to quickly identify each location. This is a great example of how to customize a Google Map for a trip.
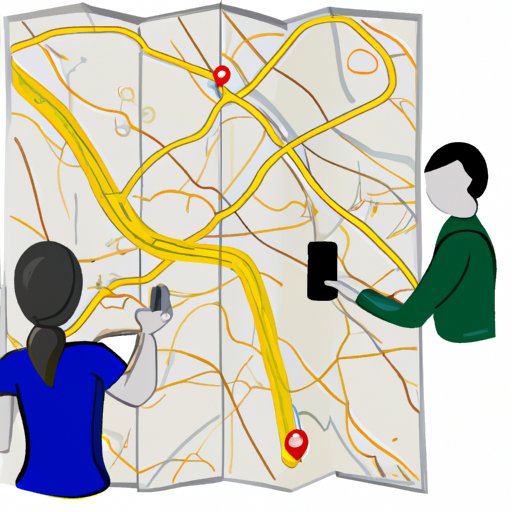
Sample Trip Map 3
This sample trip map includes color-coded pins to differentiate between different types of locations, waypoints and detours to explore new places, and photos to make the map more visually appealing. This is a great example of how to optimize a Google Map for a trip.
Conclusion
Creating a Google Map for a trip can help you stay organized and save time. You can easily plot out your route, add waypoints and detours, and even share your plans with family and friends. Plus, with the turn-by-turn navigation feature, you can receive voice-guided directions to your destination without having to worry about getting lost along the way. By following the steps outlined in this article and utilizing the tips and tricks provided, you can create a GPS-optimized trip map that will make your next adventure even more enjoyable.
(Note: Is this article not meeting your expectations? Do you have knowledge or insights to share? Unlock new opportunities and expand your reach by joining our authors team. Click Registration to join us and share your expertise with our readers.)