Introduction
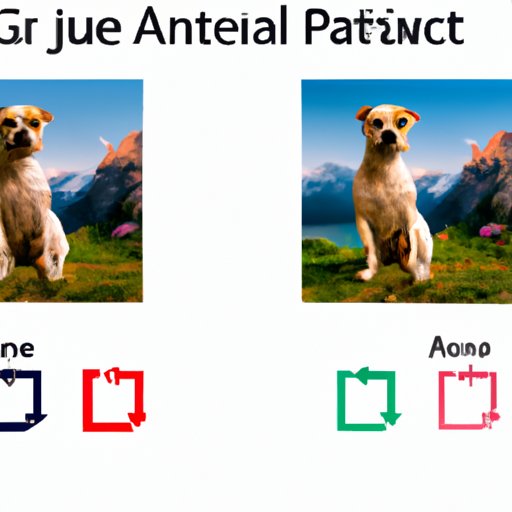
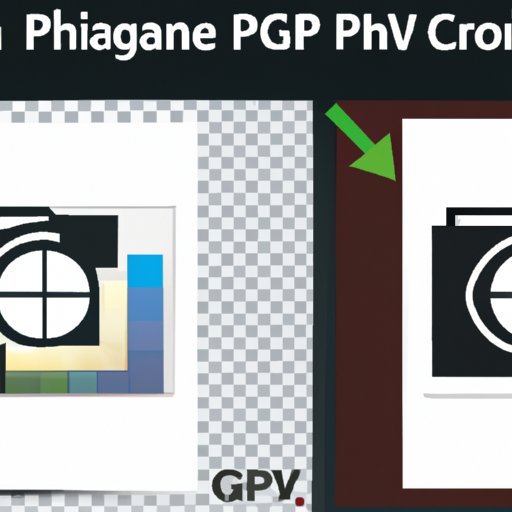
When it comes to creating digital artwork, it is often necessary for designers to convert images from one file format to another. The most common types of image files used in the design world are JPEG (JPG) and Adobe Illustrator (AI). JPGs are generally used for photographs, while AI files are used for vector graphics. In order to create the best quality artwork, it is essential to understand how to convert JPG to AI.
What is JPG and AI?
JPEG (Joint Photographic Experts Group) is a type of compressed image file that is widely used for photos and other bitmapped images. It is a “lossy” format, meaning that some of the original data is lost when the file is compressed. JPG files are usually smaller than other image formats, making them ideal for web use.
Adobe Illustrator (AI) is a vector graphics program developed by Adobe Systems. Vector graphics are composed of lines and curves, rather than pixels, and can be scaled without losing any quality. This makes them ideal for creating logos, illustrations, and other artwork that needs to be resized or printed at different sizes. AI files also support transparency, layers, and other features that make them well suited for professional design work.
Why Should You Convert JPG to AI?
Converting JPG to AI has several advantages. For example, vector images are resolution independent, meaning they can be scaled up or down without losing any quality. This is especially useful for logos, which need to be resized for different applications. AI files also offer better control over color and transparency, as well as more options for adding effects and filters. Finally, vector graphics are much lighter than bitmaps, making them easier to work with and allowing for faster loading times.
Step-by-Step Guide to Converting JPG to AI
Here is a step-by-step guide to help you convert JPG to AI:
Step 1: Prepare Your Image
Before converting your JPG to AI, it’s important to make sure the image is properly prepared. First, check the resolution of the image and ensure it is high enough for the desired output size. If the image is too low-resolution, it will look pixelated when enlarged. If the image is too large, it may take longer to process. You should also make sure the colors are correct and adjust them if needed.
Step 2: Choose a Program or Tool to Convert JPG to AI
There are several programs and online tools available for converting JPG to AI. Popular programs include Adobe Photoshop, Adobe Illustrator, CorelDraw, and vector image editing software. You can also try free online conversion services such as Zamzar, CloudConvert, and CoolUtils.
Step 3: Select the Output Format
Once you have chosen a program or tool to use, you will need to select the output format. Most programs will allow you to choose between AI, SVG, PDF, and EPS. Depending on the program, you may also be able to select specific settings such as color mode, resolution, and compression.
Step 4: Execute the Conversion
Now it’s time to execute the conversion. In most programs, all you have to do is open the JPG file and then select “Save As” or “Export” to choose the output format. With online tools, you will need to upload the JPG file, select the output format, and then click “Convert”. After the conversion is complete, you will be able to download the AI file.
Step 5: Check the Results
The final step is to check the results. Make sure the colors are correct and the image looks sharp. If something doesn’t look right, you may need to go back and adjust the settings before trying again.
5 Easy Ways to Convert JPG to AI
Here are five easy ways to convert JPG to AI:
Method 1: Adobe Photoshop
Adobe Photoshop is a popular image editing program that can be used to convert JPG to AI. All you have to do is open the JPG file in Photoshop, select “Save As”, and then choose the AI file format. You can also adjust the color mode, resolution, and other settings before saving the file.
Method 2: Adobe Illustrator
Adobe Illustrator is a vector graphics program designed specifically for creating and manipulating vector artwork. To convert JPG to AI with Illustrator, open the image in the program and select “Save As”. Then, choose the AI file format and adjust the settings as needed.
Method 3: CorelDraw
CorelDraw is a vector graphics program similar to Illustrator. To convert JPG to AI with CorelDraw, open the image in the program and select “Save As”. Then, choose the AI file format and adjust the settings as needed.
Method 4: Online Conversion Services
There are several free online conversion services that can be used to convert JPG to AI. Popular services include Zamzar, CloudConvert, and CoolUtils. All you have to do is upload the JPG file, select the output format, and click “Convert”.
Method 5: Vector Image Editing Software
Vector image editing software such as Inkscape and GIMP can be used to convert JPG to AI. All you have to do is open the image in the program, select “Save As”, and then choose the AI file format. You can also adjust the settings as needed.

A Comprehensive Guide to Transforming JPG to AI
In order to create the best quality artwork, it is essential to understand the basics of converting JPG to AI. Here is a comprehensive guide to transforming JPG to AI:
Learn the Basics of Vector Graphics
Vector graphics are composed of lines and curves, rather than pixels, and can be scaled without losing any quality. To create vector artwork, it is important to understand the basics of vector graphics, such as paths, shapes, gradients, and text. Once you understand these concepts, you will be able to create more complex designs.
Understand Color Modes
It is also important to understand the different color modes used in vector graphics. RGB (red, green, blue) is used for web and video, while CMYK (cyan, magenta, yellow, black) is used for print. Understanding the differences between these color modes will help you create better artwork.
Choose the Right Resolution
When converting JPG to AI, it is important to choose the right resolution. If the resolution is too low, the image will look pixelated when enlarged. If the resolution is too high, it may take longer to process. As a general rule, the resolution should be at least 300 dpi (dots per inch).
Learn How to Use Tools for Vectorization
Most vector graphics programs come with a variety of tools for vectorizing images. These tools allow you to trace the outlines of an image and convert it into a vector graphic. It is important to understand how to use these tools in order to create the best quality artwork.
Apply Filters and Effects to Enhance Images
Once you have converted your JPG to AI, you can apply filters and effects to enhance the image. For example, you can add drop shadows, blur effects, and color transformations to make the image look more professional. Understanding how to use these tools will help you create better artwork.

How to Use Free Online Tools to Convert JPG to AI
If you don’t have access to paid software, there are several free online tools that can be used to convert JPG to AI. Here is a brief overview of some of the most popular free online conversion tools:
Overview of Popular Free Online Conversion Tools
Zamzar is a free online file conversion service that supports more than 200 file formats, including JPG and AI. CloudConvert is another popular free online conversion tool that supports more than 200 file formats, including JPG and AI. CoolUtils is a free online file conversion service that supports more than 100 file formats, including JPG and AI.
Step-by-Step Instructions on Using Free Online Tools
Using free online tools to convert JPG to AI is simple. All you have to do is upload the JPG file, select the output format (AI), and then click “Convert”. After the conversion is complete, you can download the AI file.

Understanding the Basics of Converting JPG to AI
In order to get the best results when converting JPG to AI, it is important to understand the basics of vector graphics and image manipulation. Here is a quick overview of what you need to know:
What is Raster vs. Vector Graphics?
Raster graphics are composed of pixels, while vector graphics are composed of lines and curves. Vector graphics can be scaled without losing any quality, making them ideal for logo design and other artwork that needs to be resized or printed at different sizes.
What is the Difference Between JPG and AI?
JPG files are compressed bitmap images, while AI files are vector graphics. JPG files are usually smaller than other image formats, making them ideal for web use. AI files offer better control over color and transparency, as well as more options for adding effects and filters.
What are the Benefits of Converting JPG to AI?
Converting JPG to AI offers several benefits. Vector graphics are resolution independent, meaning they can be scaled up or down without losing any quality. AI files also offer better control over color and transparency, as well as more options for adding effects and filters. Finally, vector graphics are much lighter than bitmaps, making them easier to work with and allowing for faster loading times.
Conclusion
Converting JPG to AI is a relatively straightforward process, but it is important to understand the basics of vector graphics and image manipulation in order to get the best results. With the right tools and knowledge, you can easily convert JPG to AI and create stunning artwork.
(Note: Is this article not meeting your expectations? Do you have knowledge or insights to share? Unlock new opportunities and expand your reach by joining our authors team. Click Registration to join us and share your expertise with our readers.)
