Introduction
Connecting a robot vacuum to Wi-Fi can bring many benefits to the user. These include being able to access the robot vacuum remotely, set schedules for cleaning, and receive notifications when the robot vacuum is finished cleaning. It also allows users to upgrade the robot vacuum’s firmware, which can improve its performance.
In this article, we will explore how to connect a robot vacuum to Wi-Fi, as well as how to create a video tutorial on the subject. We will also cover troubleshooting tips, upgrading firmware, and securing a robot vacuum connected to Wi-Fi.
Steps for Connecting a Robot Vacuum to Wi-Fi
Connecting a robot vacuum to Wi-Fi can be accomplished in three simple steps.
Step 1: Prepare the Robot Vacuum
The first step in connecting a robot vacuum to Wi-Fi is to ensure that it is properly prepared. This includes making sure that the robot vacuum is charged and that the dustbin is empty. If necessary, the filters should also be cleaned or replaced. Once the robot vacuum is ready, the next step is to connect it to Wi-Fi.
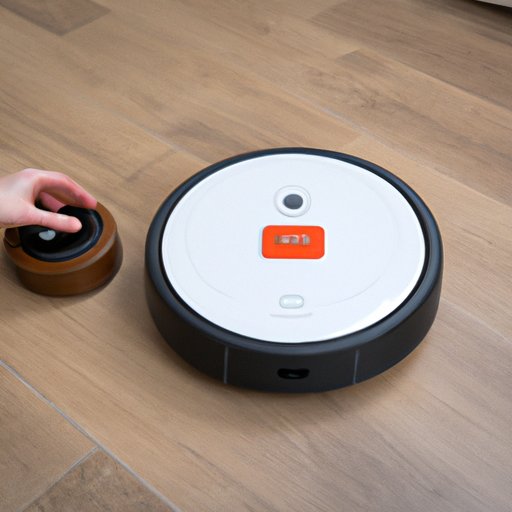
Step 2: Connect the Robot Vacuum to Wi-Fi
The second step is to connect the robot vacuum to Wi-Fi. This can be done using the robot vacuum’s app or by pressing the “connect” button on the robot vacuum itself. The app will then prompt the user to enter their Wi-Fi network name and password. Once the connection is established, the robot vacuum will be connected to the Wi-Fi network.
Step 3: Confirm the Connection
The third step is to confirm the connection. This can be done by checking the robot vacuum’s status in the app. If the connection was successful, the robot vacuum will be listed as “connected”. If not, the user will need to try again.
Troubleshooting Tips When Connecting a Robot Vacuum to Wi-Fi
Sometimes, connecting a robot vacuum to Wi-Fi can be difficult. If the connection is unsuccessful, there are several troubleshooting tips that can help. These include resetting the router, checking the password and network name, and updating the robot vacuum firmware.
Resetting the Router
If the connection is unsuccessful, the first step is to reset the router. This can be done by unplugging the router and plugging it back in. Once the router has been reset, the user can attempt to connect the robot vacuum again.
Checking the Password and Network Name
The next step is to check the password and network name. If either of these is incorrect, the connection will not be successful. The user should double-check that they have entered the correct information before attempting to connect again.
Updating the Robot Vacuum Firmware
Finally, if the connection is still unsuccessful, the user should check to see if there is an update available for the robot vacuum’s firmware. Updating the firmware can often resolve connection problems. The user should follow the instructions provided with the firmware update to install it correctly.
Creating a Video Tutorial on Connecting a Robot Vacuum to Wi-Fi
Creating a video tutorial on connecting a robot vacuum to Wi-Fi can be a great way to help users understand the process. There are several steps involved in creating a successful video tutorial.
Outlining the Process
The first step is to outline the process. This includes listing all of the steps involved in connecting the robot vacuum to Wi-Fi and any troubleshooting tips that might be needed. Once the outline is complete, the user can begin creating the video.
Demonstrating the Steps
The next step is to demonstrate each step in the process. This can be done by walking the viewer through the process step-by-step. It is important to clearly explain each step and make sure that the viewer can easily follow along.
Addressing Common Questions
Finally, the user should address any common questions that viewers may have. This can include topics such as what to do if the connection fails or how to upgrade the robot vacuum’s firmware. Answering these questions can help viewers understand the process better.
Upgrading Firmware on a Robot Vacuum Connected to Wi-Fi
Upgrading the firmware on a robot vacuum connected to Wi-Fi can improve its performance. To do this, the user must first find the correct version of the firmware. This can usually be found on the manufacturer’s website.
Finding the Correct Firmware Version
The first step is to find the correct version of the firmware. This can usually be found on the manufacturer’s website. It is important to make sure that the firmware is compatible with the robot vacuum before downloading it.
Installing the Firmware Update
Once the correct version of the firmware has been downloaded, the user can install the update. This can be done using the robot vacuum’s app or by connecting the robot vacuum to a computer and using the included software. The user should follow the instructions provided with the firmware update to install it correctly.
Testing the Updated Firmware
Finally, the user should test the updated firmware to make sure that it is working correctly. This can be done by running the robot vacuum and checking to see if it is functioning properly. If the firmware update was successful, the user should be able to enjoy improved performance from the robot vacuum.
Securing a Robot Vacuum Connected to Wi-Fi
Once the robot vacuum is connected to Wi-Fi, it is important to take steps to secure it. This includes changing default settings, using encrypted wireless networks, and limiting access to the robot vacuum.
Changing Default Settings
The first step is to change the default settings on the robot vacuum. This includes setting a strong password and disabling remote access. It is also important to make sure that the robot vacuum is not broadcasting its presence on the network.
Using Encrypted Wireless Networks
The next step is to use an encrypted wireless network. This will prevent anyone from accessing the robot vacuum without permission. It is important to make sure that the encryption is up to date and that the password is kept safe.
Limiting Access to the Robot Vacuum
Finally, the user should limit access to the robot vacuum. This can be done by restricting access to specific devices or setting up a guest network. This will help ensure that only authorized users can access the robot vacuum.
Conclusion
Connecting a robot vacuum to Wi-Fi can bring many benefits to the user. This includes being able to access the robot vacuum remotely, set schedules for cleaning, and receive notifications when the robot vacuum is finished cleaning. It also allows users to upgrade the robot vacuum’s firmware and secure the device against unauthorized access.
The process of connecting a robot vacuum to Wi-Fi can be accomplished in three simple steps. This includes preparing the robot vacuum, connecting it to Wi-Fi, and confirming the connection. Troubleshooting tips and creating a video tutorial can also be helpful. Finally, it is important to upgrade the robot vacuum’s firmware and secure it against unauthorized access.
(Note: Is this article not meeting your expectations? Do you have knowledge or insights to share? Unlock new opportunities and expand your reach by joining our authors team. Click Registration to join us and share your expertise with our readers.)