Introduction
The Litter Robot is a self-cleaning litter box that uses sensors to detect when waste has been deposited in the unit. The sensor is an important component of the Litter Robot as it helps to keep the unit running smoothly and efficiently. However, over time, the sensor can become clogged with waste and debris, which can cause the unit to malfunction. In order to ensure that the Litter Robot runs optimally, it is important to regularly clean the sensor. This article will provide a comprehensive guide on how to clean and maintain the Litter Robot sensor.
Step-by-Step Guide to Cleaning a Litter Robot Sensor
Cleaning the Litter Robot sensor is a relatively simple process that can be done in just a few steps. Below are the steps you should follow when cleaning your sensor:
Gather the Necessary Supplies
Before you begin cleaning the sensor, you will need to gather the necessary supplies. These supplies include a soft cloth or sponge, rubbing alcohol, distilled water, and a small container. It is important to use only the supplies listed above, as other supplies may damage the sensor.
Preparing the Sensor for Cleaning
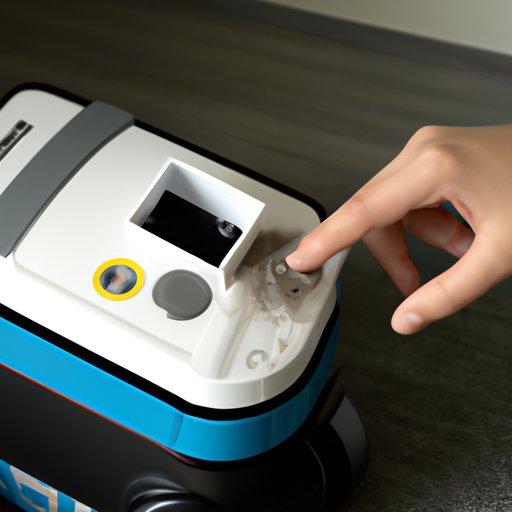
Once you have gathered the necessary supplies, you will need to prepare the sensor for cleaning. To do this, you should turn off the power to the Litter Robot and unplug the unit from the wall. Then, remove the sensor from the unit and place it in the container.
Cleaning the Sensor
Once the sensor is in the container, you can begin cleaning it. Start by pouring a small amount of rubbing alcohol onto the cloth or sponge. Then, gently rub the cloth or sponge over the sensor. Make sure not to scrub too hard, as this could damage the sensor. After you have thoroughly cleaned the sensor, you can rinse it off with some distilled water. Once the sensor is clean, you can dry it off with a soft cloth.
Final Steps
Once the sensor is dry, you can reattach it to the Litter Robot. Before doing so, make sure to plug the unit back into the wall and turn the power back on. You should also test the sensor to make sure it is working correctly. If the sensor appears to be functioning properly, you can finish reattaching the sensor and begin using the Litter Robot again.
Tips for Keeping Your Litter Robot Sensor Clean and Functional
In addition to regularly cleaning the Litter Robot sensor, there are a few other tips you should follow to keep the sensor clean and functional. These tips include:
Regularly Check the Sensor
It is important to regularly check the sensor for any signs of wear or damage. If the sensor appears to be damaged, you should replace it immediately to prevent any further damage to the Litter Robot.
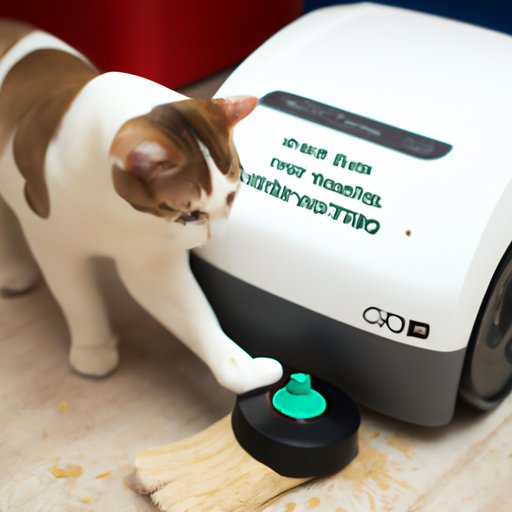
Avoid Clogging the Sensor with Waste
When emptying the waste drawer, make sure not to allow any waste to come into contact with the sensor. Even a small amount of waste can clog the sensor and cause it to malfunction.
Change the Litter Regularly
Regularly changing the litter can help to reduce the amount of waste that builds up on the sensor. This can help to ensure that the sensor remains clear and functional.
How to Easily Maintain Your Litter Robot Sensor
Maintaining your Litter Robot sensor is an important part of keeping the unit functioning properly. To easily maintain your sensor, here are a few tips you should follow:
Set Up a Routine Maintenance Schedule
Setting up a routine maintenance schedule can help to ensure that the sensor is regularly checked and cleaned. It is recommended to check the sensor every two weeks and clean it every three months.
Monitor the Sensor for Any Issues
Monitoring the sensor for any signs of wear or damage is essential for keeping it functioning properly. If you notice any issues with the sensor, you should replace it immediately.
Replace Parts as Needed
If you notice any parts of the sensor that are worn or damaged, you should replace them immediately. Replacing worn or damaged parts can help to ensure that the sensor remains functional.
A Comprehensive Guide to Cleaning a Litter Robot Sensor
Cleaning the Litter Robot sensor can seem intimidating, but it doesn’t have to be. Below is a comprehensive guide to cleaning the sensor:
Remove the Sensor from the Unit
The first step in cleaning the sensor is to remove it from the unit. To do this, you will need to turn off the power to the Litter Robot and unplug it from the wall. Then, carefully remove the sensor from the unit and place it in a container.
Clean the Sensor Properly
Once the sensor is in the container, you can begin cleaning it. Start by pouring a small amount of rubbing alcohol onto a cloth or sponge. Then, gently rub the cloth or sponge over the sensor. Make sure not to scrub too hard, as this could damage the sensor. After you have thoroughly cleaned the sensor, you can rinse it off with some distilled water. Once the sensor is clean, you can dry it off with a soft cloth.
Reattach the Sensor
Once the sensor is dry, you can reattach it to the Litter Robot. Before doing so, make sure to plug the unit back into the wall and turn the power back on. You should also test the sensor to make sure it is working correctly. If the sensor appears to be functioning properly, you can finish reattaching the sensor and begin using the Litter Robot again.
The Best Practices for Caring for Your Litter Robot Sensor
In addition to regularly cleaning the Litter Robot sensor, there are a few other best practices you should follow to keep the sensor clean and functioning properly. These practices include:
Keep the Area Around the Litter Robot Clean
Keeping the area around the Litter Robot clean can help to reduce the amount of waste and debris that builds up on the sensor. This can help to ensure that the sensor remains clear and functional.
Empty the Waste Drawer Frequently
Emptying the waste drawer frequently can help to reduce the amount of waste that comes into contact with the sensor. This can help to keep the sensor working properly.
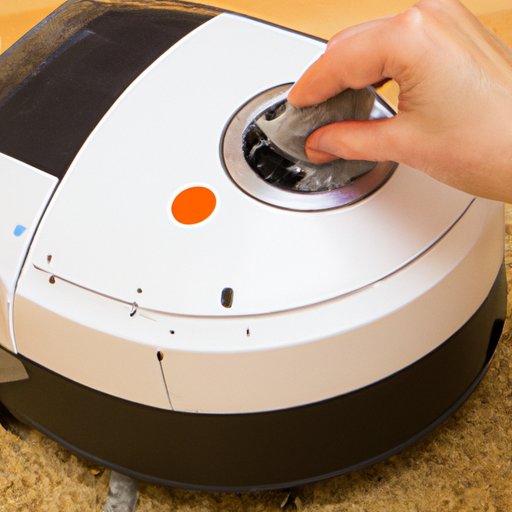
Vacuum the Unit Regularly
Vacuuming the unit regularly can help to reduce the amount of dust and debris that builds up on the sensor. This can help to ensure that the sensor remains clear and functional.
DIY: How to Deep Clean a Litter Robot Sensor
Deep cleaning the Litter Robot sensor can be a bit more complicated than regular cleaning. Here is a step-by-step guide to deep cleaning the sensor:
Disassemble the Sensor
The first step in deep cleaning the sensor is to disassemble it. To do this, you will need to turn off the power to the Litter Robot and unplug it from the wall. Then, carefully remove the sensor from the unit and place it in a container. Once the sensor is in the container, you can begin to disassemble it.
Deep Clean Each Part of the Sensor
Once the sensor is disassembled, you can begin deep cleaning each part. Start by pouring a small amount of rubbing alcohol onto a cloth or sponge. Then, gently rub the cloth or sponge over each part of the sensor. Make sure not to scrub too hard, as this could damage the sensor. After you have thoroughly cleaned each part, you can rinse it off with some distilled water. Once the parts are clean, you can dry them off with a soft cloth.
Reassemble the Sensor
Once the parts of the sensor are dry, you can begin to reassemble the sensor. Make sure to take your time when reassembling the sensor, as this can help to ensure that it is functioning properly. After the sensor is reassembled, you can reattach it to the Litter Robot.
Conclusion
Cleaning the Litter Robot sensor is an important part of keeping the unit functioning properly. By following the steps outlined in this article, you can easily and effectively clean and maintain your sensor. Additionally, following the tips and best practices provided can help to ensure that the sensor remains clean and functional. With this guide, you can keep your Litter Robot running smoothly and efficiently.
(Note: Is this article not meeting your expectations? Do you have knowledge or insights to share? Unlock new opportunities and expand your reach by joining our authors team. Click Registration to join us and share your expertise with our readers.)