Introduction
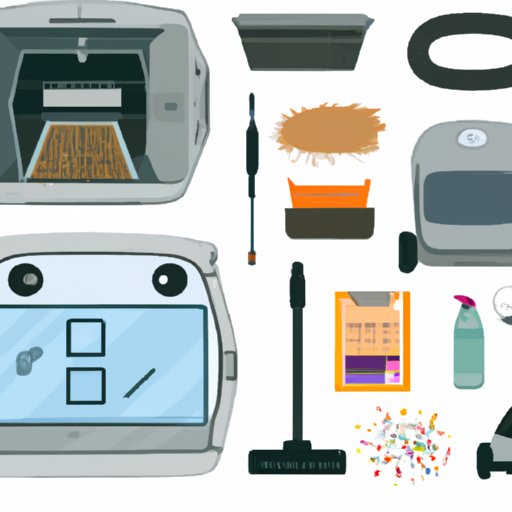
Maintaining a litter box can be a challenge, especially when you have a busy lifestyle. The Litter Robot is a self-cleaning litter box that takes the hassle out of maintaining a litter box. However, even the best machines need regular maintenance. To keep your Litter Robot running at its best, it’s important to regularly clean the inside of the unit.
In this article, we’ll explore different methods for cleaning the inside of a Litter Robot. We’ll discuss vacuuming, brushing, wiping, and other techniques for keeping your Litter Robot clean and odor-free. Let’s get started!
Vacuuming the Litter Robot
The first step in cleaning the inside of your Litter Robot is vacuuming. Vacuums are great tools for removing debris and litter from the interior of the unit. According to a study by the University of Michigan, vacuums are “effective for removing debris and litter from the interior of the unit.”
When vacuuming the inside of the Litter Robot, make sure to use a vacuum with a hose attachment. This will allow you to get into all of the nooks and crannies of the unit. Also, make sure to empty the dustbin often to prevent the vacuum from becoming clogged.
Using a Soft Brush to Remove Debris and Litter
Using a soft brush is another great way to remove debris and litter from the interior of the Litter Robot. A soft brush is gentle enough to not damage the plastic of the unit, but firm enough to remove stubborn pieces of debris or litter.
When choosing a brush, look for one with soft bristles. Nylon or polyester brushes work best. Make sure to avoid using metal brushes, as they can scratch the plastic of the unit.
Once you have the right brush, gently scrub the interior of the unit. Focus on areas where there is visible dirt or debris. Be sure to take your time and pay attention to any nooks and crannies in the unit.
Cleaning the Sensor with a Cotton Swab
The sensor is an important part of the Litter Robot. It helps the unit know when it needs to cycle. It’s important to make sure the sensor stays clean for optimal performance.
To find the sensor, open the lid of the unit. The sensor is located near the top of the unit. It should be easy to spot. Once you’ve identified the sensor, use a cotton swab to gently clean it. Make sure to be gentle and not to press too hard on the sensor.
Wiping the Inside of the Litter Robot with a Cloth
The next step in cleaning the inside of your Litter Robot is to wipe it down with a damp cloth. Make sure to use a soft cloth, such as microfiber. Avoid using harsh chemicals or abrasive materials.
Once you have the right cloth, dampen it with warm water. Then, gently wipe down the interior of the unit. Again, focus on areas with visible dirt or debris. If necessary, you can use a mild soap or detergent to help loosen any stubborn dirt or grime.
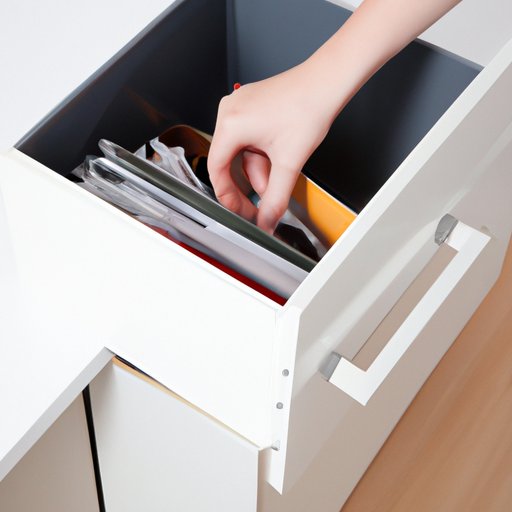
Emptying the Waste Drawer Regularly
It’s important to empty the waste drawer of your Litter Robot regularly. Failing to do so can lead to odors and bacteria buildup. According to a study by the Mayo Clinic, “regularly emptying the litter box can help reduce odors and bacteria buildup.”
To empty the waste drawer, simply lift it out of the unit and empty it into the trash. Make sure to wash your hands thoroughly after doing so. You should also disinfect the waste drawer before putting it back in the unit.
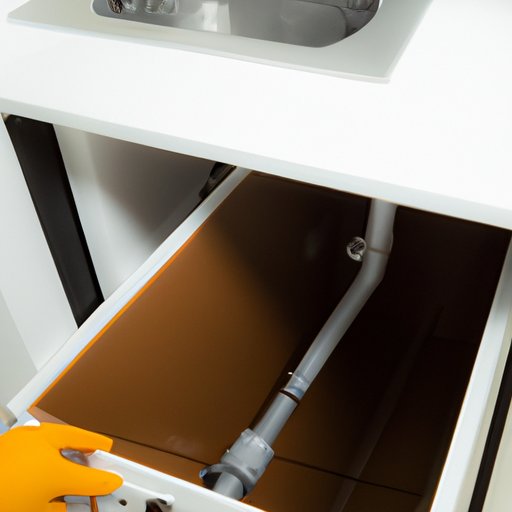
Removing Any Blockages in the Waste Drawer or Chute
Sometimes, debris or litter can get stuck in the waste drawer or chute of the Litter Robot. This can lead to blockages and cause the unit to malfunction. To prevent this, it’s important to check for blockages regularly.
If you notice any blockages, carefully remove them. You can use a pair of tweezers or a small brush to do this. Make sure to be gentle and not to force any blockages out of the unit.
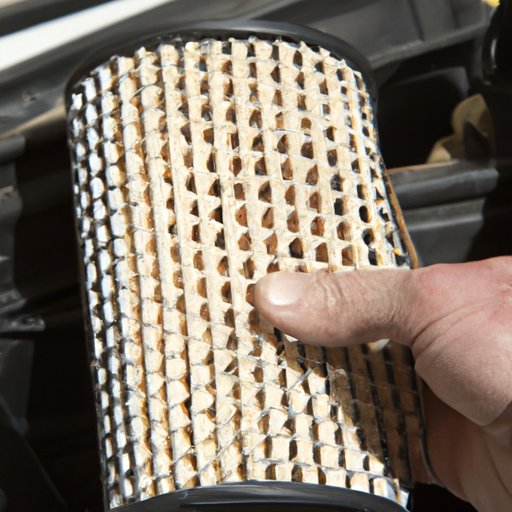
Replacing the Carbon Filter Regularly
Finally, make sure to replace the carbon filter regularly. The carbon filter helps reduce odors in the unit. According to a study by the American Society for Microbiology, “replacing the carbon filter regularly can help reduce odors in the unit.”
Most carbon filters should be replaced every 3 months. Check the instructions of your specific model to determine how often the filter should be replaced. To replace the filter, simply remove the old one and insert the new one.
Conclusion
Keeping the interior of your Litter Robot clean and odor-free is essential for optimal performance. In this article, we explored different methods for cleaning the inside of a Litter Robot. From vacuuming to wiping and replacing the carbon filter, there are several steps you can take to keep your unit in tip-top shape.
By following the steps outlined above, you can ensure your Litter Robot continues to work efficiently. So don’t be afraid to roll up your sleeves and get to cleaning! Your nose will thank you.
(Note: Is this article not meeting your expectations? Do you have knowledge or insights to share? Unlock new opportunities and expand your reach by joining our authors team. Click Registration to join us and share your expertise with our readers.)