
Introduction
A weed eater is a power tool used for trimming grass and weeds in areas where a lawnmower cannot reach. It has a long shaft with a rotating trimmer head at the end. The trimmer head spins quickly and cuts the grass with nylon string. Over time, the string can become worn or broken, and must be replaced in order to ensure the tool works properly.
Replacing the weed eater string is a simple task that can be done in just a few minutes. In this article, we’ll go over everything you need to know about changing the string, from preparing your equipment to understanding different types of weed eater heads. We’ll also provide tips and tricks on how to extend the life of your string, as well as a step-by-step guide on how to replace it.
Step-by-Step Guide to Replacing Weed Eater String
Before you begin, make sure you have all the necessary supplies:
- New string
- Scissors
- Gloves
- Safety glasses
Once you have all the supplies, follow these steps to replace the weed eater string:
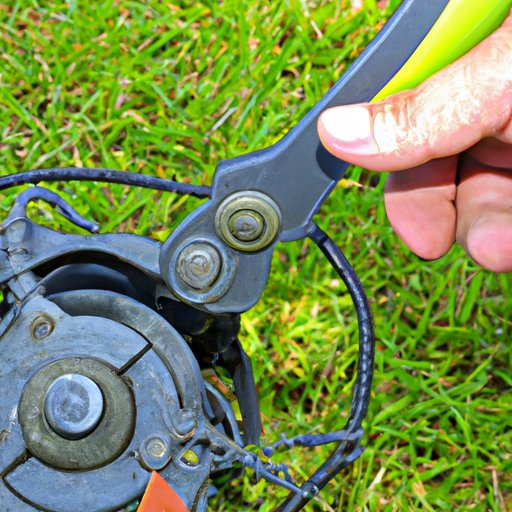
Preparing to Replace the String
Before you start, make sure the weed eater is turned off and unplugged. Wear gloves and safety glasses to protect yourself from flying debris. Remove any debris from the trimmer head, such as grass clippings or dirt. This will make it easier to work with the string.
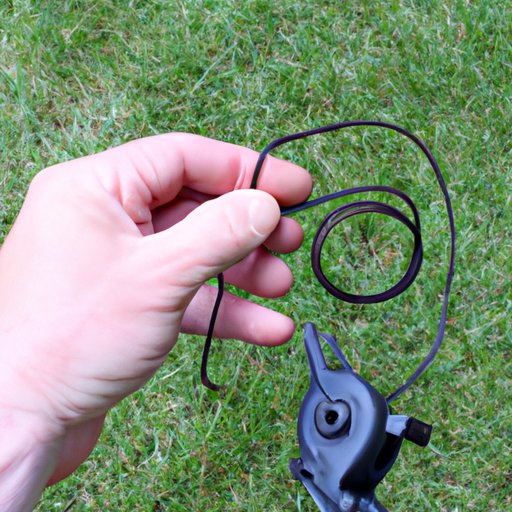
Removing the Old String
Next, remove the old string by gently pulling it out of the trimmer head. If it’s too difficult to pull out, use a pair of pliers to help. Make sure to discard the old string properly.
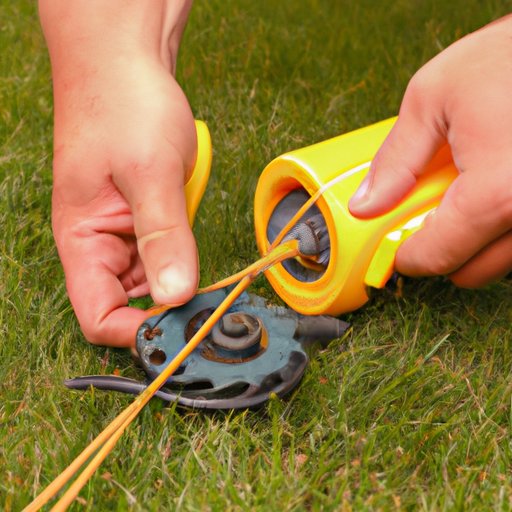
Installing the New String
Cut the new string to the appropriate length. Refer to your manual to determine the correct length for your model. Wind the string around the spool, making sure the string is evenly distributed. Secure the end of the string with a knot or loop. Then, reattach the spool cover.
How to Change Weed Eater String in 6 Easy Steps
Changing the string on your weed eater doesn’t have to be a daunting task. Follow these six steps and you’ll be ready to go in no time:
Step 1: Prepare Your Equipment
Before you start, make sure the weed eater is turned off and unplugged. Wear gloves and safety glasses to protect yourself from flying debris. Remove any debris from the trimmer head, such as grass clippings or dirt.
Step 2: Remove the Spool Cover
Locate the spool cover on the trimmer head and unscrew it. Take care not to lose any of the screws.
Step 3: Cut the New String
Measure and cut the new string to the appropriate length. Refer to your manual to determine the correct length for your model.
Step 4: Wind the New String Around the Spool
Wind the string around the spool, making sure the string is evenly distributed. Secure the end of the string with a knot or loop.
Step 5: Reinstall the Spool Cover
Reattach the spool cover, making sure all the screws are tight.
Step 6: Wind the Trimmer Head
Wind the trimmer head until the string is taut. Make sure the string is centered in the head. You’re now ready to start trimming!
A Beginner’s Guide to Replacing Weed Eater String
There are a few things to keep in mind when replacing the string on your weed eater. Understanding these basics will make the process much easier:
Measuring the Length of the String
The length of the string determines how efficiently the trimmer head will spin. Too short, and the head won’t spin fast enough. Too long, and the head may bind up. Refer to your manual to determine the correct length for your model.
Choosing the Right Type of String
Different types of string are designed for different purposes. For example, round string is best for cutting tall grass, while square string is better for edging. Make sure you choose the right type of string for your needs.
Common Mistakes to Avoid
When replacing the string, make sure the string is wound tightly and evenly around the spool. Don’t wind too much string onto the spool; this can cause the trimmer head to jam. Also, make sure the string is centered in the head so it won’t rub against the walls of the trimmer head.
What You Need to Know About Changing Weed Eater String
In addition to understanding the basics of replacing the string, there are a few other things you should know about changing weed eater string:
Understanding Different Types of Weed Eater Heads
Different types of weed eater heads require different types of string. Some heads are designed to use pre-cut string, while others are designed to use larger spools of string. Make sure you know which type of head you have before purchasing string.
How to Extend the Life of Your String
To get the most out of your string, try to avoid hitting hard surfaces such as rocks and concrete. This will help prevent the string from becoming frayed and worn. Additionally, keep your equipment clean and store it in a cool, dry place when not in use.
The Quickest Way to Replace Weed Eater String
If you’re in a hurry and don’t have time to measure and cut the string, there are a few shortcuts you can take:
Using Pre-Cut String
Some weed eater heads are designed to use pre-cut string, which eliminates the need to measure and cut the string yourself. This is often the quickest way to replace the string.
Replacing String Without Removing the Spool Cover
On some models, you can replace the string without removing the spool cover. Simply hold the trimmer head upside down and pull the old string out. Then, insert the new string through the hole in the bottom of the head and wind it around the spool.
Tips and Tricks for Changing Weed Eater String
Here are a few tips and tricks to make the job of replacing the string easier:
Keep Extra String Handy
Keep an extra spool of string in your shed or garage so you always have it on hand when you need it. This will save you from having to run to the store every time you need more string.
Keeping Your Equipment Clean
Regularly cleaning your equipment will help extend the life of your string. Make sure to wipe down the trimmer head after each use and remove any debris from the spool cover.
DIY: How to Change Weed Eater String
Changing the string on your weed eater is a relatively simple task that can be done in just a few minutes. Here’s a quick overview of what you need to do:
Gather the Supplies
Make sure you have all the necessary supplies, including new string, scissors, gloves, and safety glasses.
Follow the Steps
Follow the steps outlined in this article to replace the string. Make sure to measure and cut the new string to the appropriate length and secure the end with a knot or loop.
Finishing Up
Once the string is installed, wind the trimmer head until the string is taut. Make sure the string is centered in the head. You’re now ready to start trimming!
Conclusion
Replacing the string on your weed eater is a simple task that can be done in just a few minutes. With the right supplies and a little bit of knowledge, you’ll be able to easily replace the string and get back to trimming the grass. Keep these tips in mind and you’ll be able to extend the life of your string and keep your weed eater running smoothly.
(Note: Is this article not meeting your expectations? Do you have knowledge or insights to share? Unlock new opportunities and expand your reach by joining our authors team. Click Registration to join us and share your expertise with our readers.)