Introduction
If your car won’t start, you may need to replace the starter. Though this process may seem daunting, it’s actually quite simple if you have the right tools and knowledge. This article will provide a step-by-step guide to changing a starter so that you can get back on the road in no time.
Gather Necessary Tools
Before you begin, make sure you have the necessary tools. You’ll need a ratchet and socket set, screwdriver, and possibly a wrench and pliers. Having the right tools makes the job easier, faster, and safer.
Locate the Starter
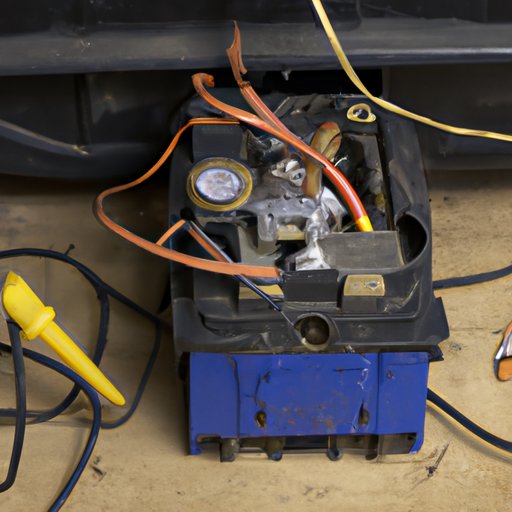
To access the starter, you’ll need to lift the hood of your car. The starter is usually located near the front of the engine, attached to the transmission housing. It’s a cylindrical metal part with a large wire connected to it.

Disconnect the Negative Battery Cable
Safety is paramount when working on your car. Before you start tinkering, disconnect the negative battery cable. This prevents electrical shocks and helps prevent damage to other parts of the system.
Unscrew Bolts and Brackets
Once the battery cable is disconnected, unscrew the bolts and brackets that hold the starter in place. Make sure to keep track of the bolts and brackets as you remove them. Once the starter is loose, you can carefully pull it away from the engine.
Remove Electrical Connections
The starter is connected to the battery by two electrical connections. Carefully disconnect these connections and set the starter aside. If you are having trouble removing the connections, you can use a pair of pliers or a wrench to loosen them.
Install New Starter
Now that the old starter has been removed, you can install the new one. Start by reattaching the bolts and brackets that hold the starter in place. Then, reconnect the electrical connections and make sure they are secure.
Reconnect the Negative Battery Cable
Once the starter is installed, you can reconnect the negative battery cable. Make sure the cable is properly connected and secured before closing the hood.
Conclusion
Changing a starter is not a difficult job, but it does require some know-how. By following this step-by-step guide, you should be able to successfully replace a starter in no time. If you run into problems, consult a professional for help.
In summary, to change a starter you need to gather the right tools, locate the starter, disconnect the negative battery cable, unscrew bolts and brackets, remove electrical connections, install the new starter, and reconnect the negative battery cable. With these steps, you can easily and safely change a starter on your own.
(Note: Is this article not meeting your expectations? Do you have knowledge or insights to share? Unlock new opportunities and expand your reach by joining our authors team. Click Registration to join us and share your expertise with our readers.)