Introduction
Carving pumpkins is a beloved tradition during the month of October. It’s a great way to get into the spirit of the season and create a unique piece of art. The process can be intimidating, but with the right materials and a few helpful tips, you can create a beautiful work of art that will impress your friends and family.

Overview of the Pumpkin Carving Process
The first step in the process is to select a pumpkin. You can choose one from your local grocery store or pick your own at a nearby farm. Once you have your pumpkin, it’s time to prepare the design. You can either draw your own design or print one from a template. Next, use a saw or knife to cut out the design. Be sure to use caution when handling sharp tools. Lastly, add a candle or light to the inside of the pumpkin to illuminate your masterpiece.
Benefits of Carving Pumpkins
Carving pumpkins offers many benefits. It’s a great way to bond with family and friends, as well as express creativity. You can also learn new skills such as using different types of tools or mastering intricate designs. Finally, it’s a fun and festive way to celebrate the season.
Materials Needed for Pumpkin Carving
Before you start carving your pumpkin, make sure you have all the necessary supplies. You’ll need a pumpkin (obviously!), a sharp knife or saw, a spoon or scoop, a pencil, a template or stencil, and a candle or light source.
Step-by-Step Instructions
Now that you have all your materials, it’s time to get started. Here are the steps for carving a pumpkin:
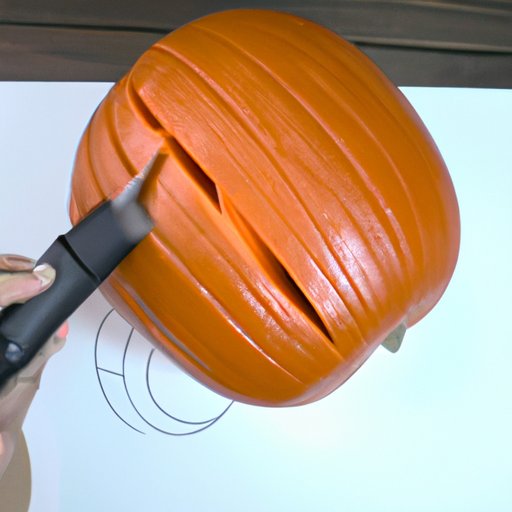
- Draw or print your design on paper and trace it onto the pumpkin with a pencil.
- Cut out the design with a knife or saw. Be sure to use caution when handling sharp tools.
- Scoop out the insides of the pumpkin with a spoon or scoop.
- Place a candle or light source inside the pumpkin.
- Enjoy your masterpiece!
Safety Tips
When carving a pumpkin, it’s important to take safety precautions. Always wear protective gloves and goggles when using sharp tools. Make sure children are supervised at all times. Avoid cutting too deeply into the pumpkin, as this can cause it to crack or break. Finally, never leave a lit candle unattended.

Tutorial Video of Pumpkin Carving Process
For a visual guide on how to carve a pumpkin, check out this tutorial video. It walks you through the entire process, from selecting a pumpkin to adding a candle or light source. The video also demonstrates various techniques for creating intricate designs, such as freehand carving and using stencils.
Photos and Stories from Past Pumpkin Carving Experiences
Looking for some inspiration? Check out photos and stories from past pumpkin carving experiences. Many people share their creative designs online, so you can get ideas for your own masterpiece. There are also plenty of stories about successful pumpkin carving adventures, which can help you feel more confident in your own abilities.

Tips and Tricks for Perfect Pumpkin Design
Once you’ve selected your design, it’s time to perfect the details. Here are some tips and tricks for creating a flawless pumpkin masterpiece:
- Use a steady hand when tracing the design onto the pumpkin.
- Take your time when carving – don’t rush!
- Add texture to the design by scraping away sections of the pumpkin.
- Add depth to the design by carving multiple layers.
- Use a toothpick to poke small holes for extra detail.
Interview with Expert Carver
To learn more about the pumpkin carving process, we interviewed expert carver Maxine Smith. In the interview, she shared her tips and tricks for creating unique designs. She also offered advice on how to make your pumpkin look professional, including using different textures and layering techniques.
Conclusion
Carving pumpkins is a fun and creative way to celebrate the season. With the right materials and a few helpful tips, you can create a beautiful work of art that will impress your friends and family. Remember to take safety precautions when using sharp tools, and always use a steady hand when tracing the design onto the pumpkin.
(Note: Is this article not meeting your expectations? Do you have knowledge or insights to share? Unlock new opportunities and expand your reach by joining our authors team. Click Registration to join us and share your expertise with our readers.)