Introduction
Capping an oil well is a process used to permanently seal off a well that is no longer in use. This process is necessary to protect the environment from any potential leaks or contamination. It is also important for safety reasons as it prevents anyone from accessing the well and suffering injury. In this article, we will explore the steps involved in capping an oil well, the equipment needed, and the potential risks and challenges associated with the process.
Step-by-Step Guide to Capping an Oil Well
The process of capping an oil well involves several steps. The following is a step-by-step guide to help you understand and complete the process safely and efficiently.
Step 1: Secure the Wellhead
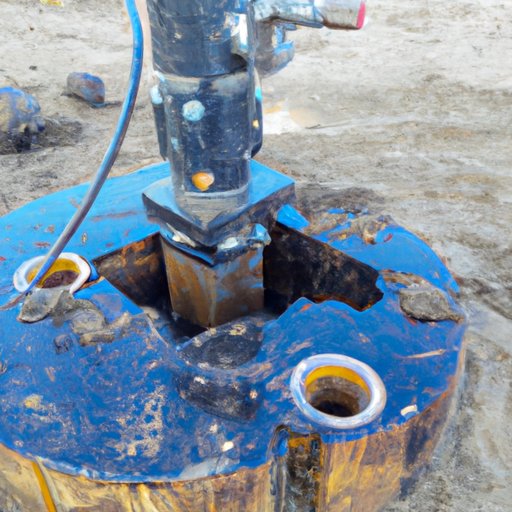
Before you can begin capping the well, the wellhead must be secured. This involves checking the condition of the wellhead and making sure that all bolts and nuts are tight. It is also important to check for any cracks or damage to the wellhead that could affect the integrity of the seal.
Step 2: Install a Cement Plug
Once the wellhead is secure, a cement plug should be installed. This is done by inserting a tube into the well and pumping cement down the tube until the desired depth is reached. The cement will then harden and form a seal at the bottom of the well.
Step 3: Pressure Test the Seal
After the cement plug has been installed, it is important to pressure test the seal to ensure that it is watertight. This can be done by pressurizing the well and monitoring for any leaks. If no leaks are detected, the seal is considered to be secure.
Step 4: Install the Cap
The final step in the process is to install the cap. This is done by attaching the cap to the wellhead using bolts and nuts. Once the cap is securely attached, it will provide an additional layer of protection for the seal below.
Exploring the Risks and Challenges of Capping an Oil Well
Capping an oil well is not without its risks and challenges. It is important to be aware of these potential problems before beginning the process.
Potential Problems with the Wellhead
Before attempting to cap the well, it is essential to inspect the wellhead to ensure that it is in good condition. If there are any cracks or damage to the wellhead, this could compromise the integrity of the seal. It is also important to make sure that all bolts and nuts are tight so that the cap does not become loose over time.
Environmental Risks
When capping an oil well, it is important to be mindful of the potential environmental risks. This includes ensuring that all cement is properly disposed of and any spills are cleaned up immediately. It is also important to monitor the area around the well for any signs of contamination.
Safety Considerations
Safety is paramount when capping an oil well. It is important to wear protective clothing and follow all safety guidelines. It is also important to have a plan in place in case of an emergency.
What Equipment is Needed to Properly Cap an Oil Well?
In order to properly cap an oil well, certain specialized tools and equipment are required. The following is a list of the most common tools and equipment needed for the job.
Wellhead Tools
Wellhead tools are used to inspect and secure the wellhead. These tools include wrenches, sockets, and ratchets. It is important to make sure that these tools are in good condition and fit the wellhead properly.
Cementing Tools
Cementing tools are used to install the cement plug. These tools include a cementing head, a cement mixer, and a cement pump. It is important to make sure that these tools are in good condition and are calibrated correctly.
Pressure Testing Equipment
Pressure testing equipment is used to test the integrity of the seal. This equipment includes a pressure gauge and a pressure tester. It is important to make sure that these tools are in good condition and are calibrated correctly.

A Comprehensive Overview of the Process of Capping an Oil Well
Capping an oil well is a complex process that requires careful preparation and planning. The following is a comprehensive overview of the steps involved in the process.
Preparation
The first step in capping an oil well is to prepare the site. This includes inspecting the wellhead and securing it if necessary. It is also important to gather the necessary tools and equipment and ensure that they are in good condition.
Cementing
Once the site is prepared, the next step is to install the cement plug. This involves inserting a tube into the well and pumping cement down the tube until the desired depth is reached. The cement will then harden and form a seal at the bottom of the well.
Pressure Testing
After the cement plug has been installed, it is important to pressure test the seal to ensure that it is watertight. This can be done by pressurizing the well and monitoring for any leaks.
Final Steps
The final step in the process is to install the cap. This is done by attaching the cap to the wellhead using bolts and nuts. Once the cap is securely attached, it will provide an additional layer of protection for the seal below.
Conclusion
Capping an oil well is a complex process that requires careful preparation and planning. It is important to be aware of the potential risks and challenges associated with the process and to make sure that all safety guidelines are followed. By following the steps outlined in this article, you can ensure that the process is completed safely and efficiently.
(Note: Is this article not meeting your expectations? Do you have knowledge or insights to share? Unlock new opportunities and expand your reach by joining our authors team. Click Registration to join us and share your expertise with our readers.)
