Introduction
Robots have become an increasingly popular topic in recent years, with everyone from hobbyists to engineers looking to build their own. But for those who are new to robotics, the prospect of building your own robot can seem intimidating. Fortunately, with the right research, materials, and plan, anyone can build their own robot.
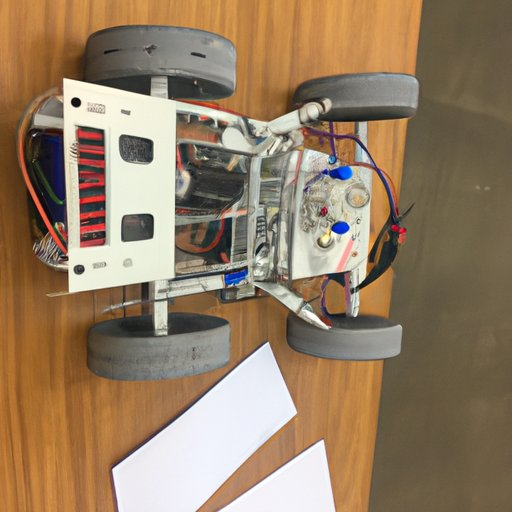
A robot is defined as “a machine capable of carrying out a complex series of actions automatically, especially one programmable by a computer” (Oxford Dictionary). In other words, a robot is a machine that can be programmed to complete tasks autonomously. While robots come in various shapes and sizes, they all share the same basic components: a power source, sensors, actuators, and a control system.
This article will provide a step-by-step guide on how to build your own robot. We’ll explore the research needed to identify the type of robot you want to build, the materials required, and the plan for building your robot. We’ll also discuss how to gather the necessary tools and materials, assemble the parts, and test and adjust your robot. By the end of this article, you’ll have a better understanding of how to build your own robot.
Research
The first step in building your own robot is to do some research. You’ll need to identify the type of robot you want to build, list the components and materials needed, and outline a plan for your robot design, materials, and budget.
When it comes to choosing the type of robot you want to build, there are several options. A study by the Massachusetts Institute of Technology (MIT) found that the most popular types of robots are service robots, industrial robots, and educational robots. Service robots are typically used for cleaning, security, and medical purposes; industrial robots are used in manufacturing; and educational robots are designed to help teach students about robotics and coding. It’s important to choose a type of robot that fits your needs and abilities.
Once you’ve identified the type of robot you want to build, you can start listing the components and materials you’ll need. This includes motors, batteries, circuit boards, wiring, and any other components or parts specific to the type of robot you’re building. When sourcing these materials, make sure to get quality parts that are compatible with the type of robot you’re building.
The last step in the research phase is to outline a plan for your robot design, materials, and budget. This will include deciding on the size and shape of your robot, the materials needed, and the cost of each component. Make sure to factor in any additional costs such as tools or software. Once you’ve outlined a plan, you can begin gathering the materials needed to build your robot.
Gather Materials
Now that you’ve identified the type of robot you want to build and listed the components and materials needed, it’s time to start gathering the necessary tools and materials. The best place to start is online, where you can find everything from motors and batteries to circuit boards and wiring. You can also check out local hardware stores or electronics stores for the components you need.
It’s important to consider safety guidelines when sourcing materials for your robot. For example, if you’re using batteries, make sure to follow the manufacturer’s instructions for charging and handling them safely. Similarly, if you’re using motors, make sure to adhere to the safety precautions provided by the manufacturer.
Assemble Parts
Once you’ve gathered the materials and tools needed to build your robot, it’s time to start assembling the parts. Follow the plan you outlined in the research phase to ensure you’re building your robot correctly. If you’re new to robotics, it’s important to take your time and double-check your work as you go.
Make sure to adhere to safety guidelines when building your robot. Wear protective gear such as goggles and gloves to protect yourself from any hazards associated with the materials and tools you’re using. Keep an eye out for any loose wires or exposed circuits that could pose a risk of electric shock.
Testing and Adjustments
Once you’ve assembled the parts of your robot, it’s time to test it to make sure it’s functioning properly. Test the robot in different situations to ensure it’s responding the way it should. If any adjustments are needed, make them before continuing to the next step.
It’s important to continue testing and adjusting your robot until it’s working the way you want it to. This may require some trial and error, but it’s essential to make sure your robot is safe and functioning properly.
Conclusion
Building your own robot can seem like a daunting task, but with the right research, materials, and plan, anyone can do it. This article has provided a step-by-step guide on how to build your own robot, from identifying the type of robot you want to build to testing and adjusting it. Whether you’re a hobbyist or an engineer, building your own robot is an exciting and rewarding experience.
We hope this article has helped demystify the process of building your own robot. Now that you know the steps, why not give it a try? Building your own robot is a great way to learn more about robotics and gain a deeper understanding of how they work.
(Note: Is this article not meeting your expectations? Do you have knowledge or insights to share? Unlock new opportunities and expand your reach by joining our authors team. Click Registration to join us and share your expertise with our readers.)