Introduction
The EV3 robot is a powerful tool for learning about robotics and engineering. In this article, we will explore the different components of the EV3 robot and how to assemble them together. We will also highlight the possibilities that can be achieved with the EV3 robot, such as understanding the EV3 programming language and testing/debugging the robot after assembly.
Step-by-Step Tutorial on Assembling the EV3 Robot
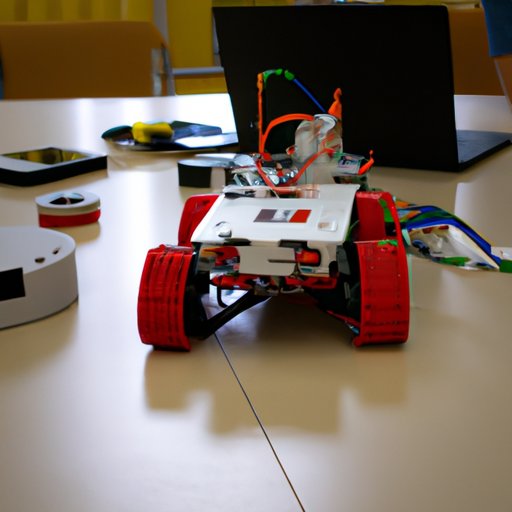
The EV3 robot is composed of several components, such as the main body, motors, sensors, and cables. Understanding each component and how they fit together is key to successfully building the EV3 robot. To help with this process, it is best to refer to the EV3 user guide. This guide outlines all the steps needed to assemble the EV3 robot, including pictures and diagrams.
In addition to the user guide, there are also many helpful demonstration videos available online. These videos provide a visual representation of assembling the EV3 robot. For example, this video from Lego Mindstorms demonstrates how to construct an EV3 robot: https://www.youtube.com/watch?v=7xTg1XuVYsE. Viewing these videos can be a great way to get a better understanding of the assembly process.
When building the EV3 robot, it is important to keep in mind that some common problems may arise. For example, the motors may not connect properly or the sensors may not be calibrated correctly. To troubleshoot these issues, it is best to refer to the user guide or contact customer support. Additionally, there are many helpful forums and discussion boards available online where users can share their experiences and ask questions.
Highlighting the Possibilities That Can Be Achieved with the EV3 Robot
Once the EV3 robot has been assembled, the next step is to explore the possibilities that can be achieved with the robot. One of the most important steps is understanding the EV3 programming language. The EV3 programming language is used to control the robot and make it move and interact with its environment. There are many resources available to learn more about the EV3 programming language, such as tutorials, books, and online courses.
After understanding the EV3 programming language, the next step is to test and debug the robot. This involves running the robot through its paces and making sure it operates as expected. If any errors or bugs are found, the code must be adjusted accordingly. Testing and debugging are essential steps in the process of building an EV3 robot.
Conclusion
In conclusion, building an EV3 robot is a great way to learn about robotics and engineering. By following the step-by-step tutorial outlined in this article, along with the helpful demonstration videos and troubleshooting tips, anyone can build an EV3 robot. Once the robot is built, the possibilities are endless, such as understanding the EV3 programming language and testing/debugging the robot after assembly. With the right tools and knowledge, building an EV3 robot is an achievable goal.
(Note: Is this article not meeting your expectations? Do you have knowledge or insights to share? Unlock new opportunities and expand your reach by joining our authors team. Click Registration to join us and share your expertise with our readers.)