Introduction
Robots are becoming increasingly popular in our society today. From industrial robots used for manufacturing to autonomous robots used for entertainment, robots are quickly becoming an integral part of our lives. But what exactly is a robot?
A robot is a machine that can be programmed to perform certain tasks autonomously or semi-autonomously. They typically have sensors and actuators that allow them to interact with their environment. The process of building a robot involves research, assembly, programming, testing, and finishing. In this article, we’ll explore each of these steps in detail so you can build your own robot.
Building a robot can be a rewarding experience, both intellectually and emotionally. It can help you develop problem-solving skills, as well as teach you how to think critically and creatively. Additionally, building a robot can also be fun and exciting!
Outline the Basic Steps for Building a Robot
The process of building a robot involves several steps. Here’s an overview of the steps involved:
1. Research different types of robots
2. Gather materials needed to construct the robot
3. Assemble the components of the robot
4. Program the robot with appropriate software
5. Test the robot and make adjustments as necessary
6. Finish the robot and enjoy!
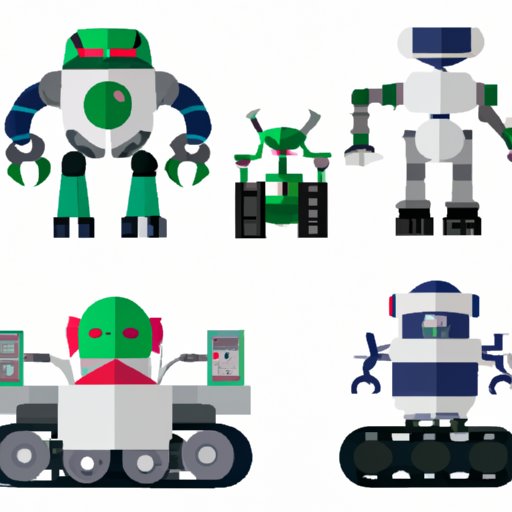
Research Different Types of Robots and Choose the Right One for Your Project
Before you start building your robot, it’s important to do some research to determine which type of robot is best suited for your project. There are several considerations you should take into account when choosing the right robot for your project, such as cost, complexity, size, and purpose.
According to a study by researchers at the University of California, Berkeley, “When selecting a robot for a specific task, it is important to consider the cost, complexity, size, and purpose of the robot. For example, if the goal is to build a robot capable of performing complex tasks, then a more sophisticated and expensive robot may be required. On the other hand, if the goal is to build a simple robot for a specific task, then a less expensive and simpler robot may suffice.”
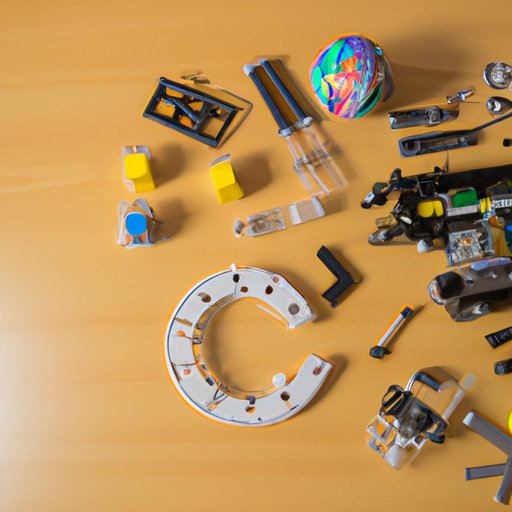
Gather Materials Needed to Construct the Robot
Once you’ve decided on the type of robot you want to build, the next step is to gather the materials needed to construct the robot. This list of materials will vary depending on the type of robot you’re building, but here are some common items you’ll likely need:
• Motors
• Batteries
• Wires
• Electronic components (e.g., transistors, resistors, capacitors)
• Sensors (e.g., infrared, ultrasonic, light)
• Controllers (e.g., Arduino, Raspberry Pi)
• Software (e.g., Arduino IDE, Scratch)
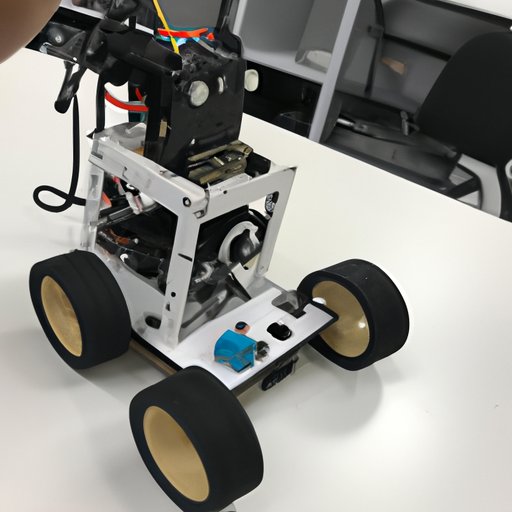
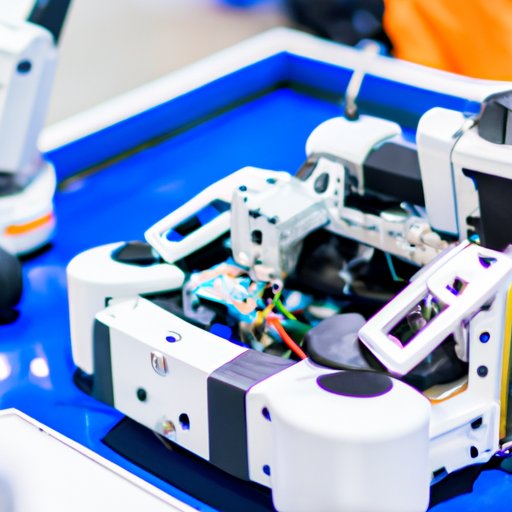
Assemble the Components of the Robot
Once you’ve gathered all the materials needed to construct the robot, the next step is to assemble the components. This step-by-step guide will help you assemble the robot:
1. Connect the motors to the controller board.
2. Attach the batteries to the controller board.
3. Connect the wires to the controller board.
4. Place the electronic components on the controller board.
5. Attach the sensors to the controller board.
6. Connect the controller board to the computer via USB cable.
Program the Robot with Appropriate Software
Once the robot is assembled, the next step is to program it with appropriate software. There are several programming languages available, such as C, C++, Python, Java, and JavaScript. For beginners, Arduino IDE and Scratch are two popular options.
When programming the robot, it’s important to keep in mind the following tips:
• Break down the programming task into smaller, manageable chunks.
• Test the code as you go to make sure it’s working correctly.
• Be patient and don’t give up if something isn’t working correctly.
• Take breaks when needed.
Test the Robot and Make Adjustments as Necessary
Once the robot is programmed, the next step is to test it and make any necessary adjustments. Here are some guidelines for testing the robot:
• Start with basic tests and gradually increase the complexity of the tests.
• Pay close attention to the robot’s behavior and make any necessary adjustments.
• Test the robot in different environments to see how it performs.
• Test the robot over extended periods of time to ensure it’s functioning properly.
Additionally, here are some tips for troubleshooting any common issues:
• Check the connections between the components to make sure they’re secure.
• Make sure the power sources are connected and providing sufficient power.
• Check the code for any errors and make sure it’s running correctly.
• Make sure the sensors are working properly.
Finish the Robot and Enjoy!
Once the robot has been tested and adjusted as necessary, the final step is to finish the robot. This includes any aesthetic touches, such as painting or adding decorations, as well as any other customizations you might want to make. Once the robot is finished, it’s time to enjoy it!
There are many ways to utilize the robot, such as for entertainment, education, and even medical purposes. Here are some suggestions for utilizing the robot:
• Create a game for the robot to play.
• Teach the robot to recognize objects and respond accordingly.
• Use the robot to assist with household chores such as vacuuming or mowing the lawn.
• Program the robot to assist with medical tasks such as administering medication or monitoring vital signs.
Conclusion
Building a robot can be a fun and rewarding experience. By following the steps outlined in this article, you can build your own robot. From researching different types of robots to gathering the materials needed to construct it and programming it with the right software, building a robot can be a challenging but rewarding endeavor.
(Note: Is this article not meeting your expectations? Do you have knowledge or insights to share? Unlock new opportunities and expand your reach by joining our authors team. Click Registration to join us and share your expertise with our readers.)