Introduction
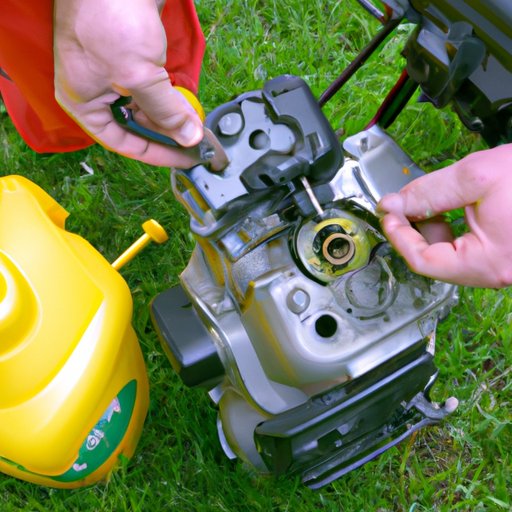
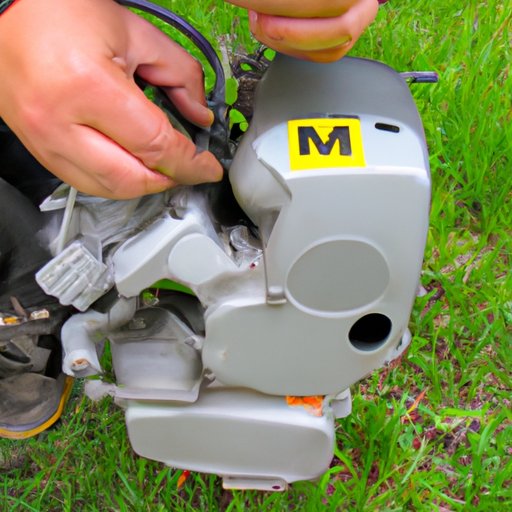
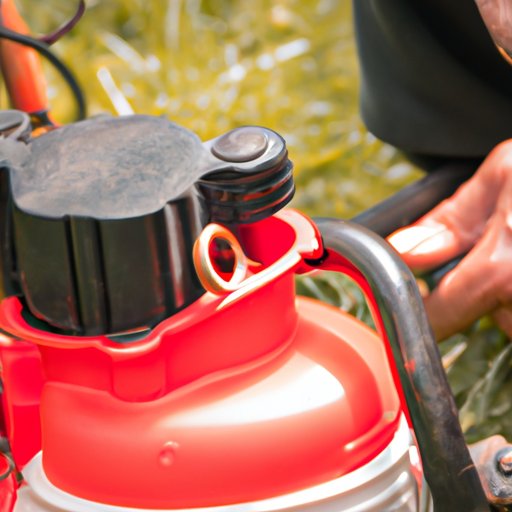
A weed eater, also known as a string trimmer or a grass trimmer, is a power tool used to trim and shape grass and weeds. It has a cutting head at the end of a long shaft that houses a spool of cutting line. The engine of the weed eater is powered by a carburetor, which is responsible for mixing fuel and air to create the combustion necessary for the engine to run. Knowing how to adjust the carburetor on a weed eater can help you ensure that your engine runs efficiently and safely.
Overview of the Carburetor
The carburetor on a weed eater is a device that mixes the fuel with air before it enters the engine. It is comprised of several components including the throttle valve, idle speed screw, high-speed needle, low-speed needle, and choke. Each of these components controls the amount of fuel and air that enters the engine, allowing you to adjust the engine’s performance.
Step-by-Step Guide on How to Adjust the Carburetor on a Weed Eater
Preparation
Before you start adjusting the carburetor on a weed eater, make sure the engine is cool. If the engine is hot, wait until it has cooled down before making any adjustments. Additionally, you should make sure there is enough fuel in the tank so that the engine can run properly. Once you have ensured that the engine is cool and there is enough fuel, you are ready to begin adjusting the carburetor.
Adjusting the Carburetor
Adjusting the carburetor on a weed eater is not a difficult task, but it does require patience and precision. There are three main steps to adjusting the carburetor: setting the high-speed screw, setting the low-speed screw, and adjusting the idle speed. Here is a more detailed look at each of these steps:
Setting the High-Speed Screw
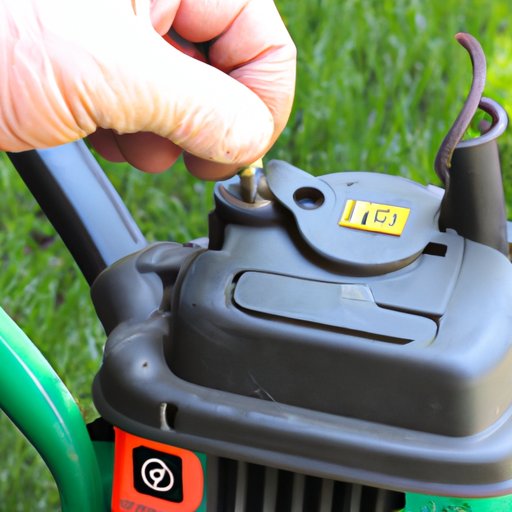
The high-speed screw is located on the side of the carburetor and is used to adjust the maximum speed of the engine. To set the high-speed screw, start the engine and let it run for a few minutes. Then, slowly turn the high-speed screw clockwise until the engine starts to sputter. At this point, turn the screw counterclockwise until the engine runs smoothly again. This will ensure that the engine is running at its maximum speed.
Setting the Low-Speed Screw
The low-speed screw is located on the opposite side of the carburetor and is used to adjust the minimum or idle speed of the engine. To set the low-speed screw, start the engine and let it run for a few minutes. Then, slowly turn the low-speed screw clockwise until the engine starts to sputter. At this point, turn the screw counterclockwise until the engine runs smoothly again. This will ensure that the engine is running at its minimum speed.
Adjusting the Idle Speed
The idle speed is the speed of the engine when the throttle is not engaged. To adjust the idle speed, start the engine and let it run for a few minutes. Then, slowly turn the idle speed screw clockwise until the engine starts to sputter. At this point, turn the screw counterclockwise until the engine runs smoothly again. This will ensure that the engine is running at its ideal idle speed.
Finishing Up
Once you have adjusted the carburetor on your weed eater, you should check the engine one last time to make sure it is running correctly. If the engine is running smoothly, then you have successfully adjusted the carburetor. If not, you may need to repeat the adjustment process.

Troubleshooting Tips for Adjusting the Carburetor on a Weed Eater
If the engine is still not running correctly after adjusting the carburetor, there are a few troubleshooting tips you can try. First, check for any leaks in the fuel lines or filters. If there are any leaks, they must be fixed before the engine will run properly. Second, clean the carburetor if it is clogged or dirty. Finally, replace any worn or damaged fuel lines or filters.
A Comprehensive Guide to Tuning the Carburetor on a Weed Eater
In addition to adjusting the carburetor on a weed eater, you may also want to tune the carburetor for improved performance. Tuning the carburetor involves understanding the engine, selecting the correct parts, installing the new parts, and fine-tuning the carburetor. This process can help you get the most out of your engine and ensure that it is running optimally.

The Basics of Adjusting the Carburetor on a Weed Eater
When it comes to adjusting the carburetor on a weed eater, the basics are fairly simple. First, you need to understand the different components of the carburetor and how they work together. Next, you need to adjust the throttle to control the speed of the engine. Finally, you need to adjust the air/fuel mixture to ensure that the engine is running efficiently.

How to Easily Adjust the Carburetor on a Weed Eater
If you are looking for an easy way to adjust the carburetor on a weed eater, then using a vacuum gauge is the best option. A vacuum gauge measures the amount of vacuum created by the engine and helps you determine whether or not the carburetor is adjusted correctly. Additionally, you should make sure the carburetor is clean and free of debris before attempting to adjust it. Finally, you should make sure the choke is adjusted correctly so that the engine is able to start and run smoothly.
Conclusion
Adjusting the carburetor on a weed eater is not a difficult task, but it does require some patience and precision. By following the steps outlined above, you can easily adjust the carburetor on your weed eater and ensure that it is running at its optimal performance. Additionally, if you are looking for an easier way to adjust the carburetor, you can use a vacuum gauge to help you achieve the desired results. With the right tools and knowledge, you can easily adjust the carburetor on your weed eater.
(Note: Is this article not meeting your expectations? Do you have knowledge or insights to share? Unlock new opportunities and expand your reach by joining our authors team. Click Registration to join us and share your expertise with our readers.)
