Introduction
A breadboard is an essential tool used in electronics prototyping. It is a platform that allows users to quickly and easily build and experiment with circuits without having to solder them together. This makes it ideal for beginners and experienced engineers alike who are looking to create and test out new ideas quickly and efficiently. But before diving into the world of breadboarding, it is important to understand exactly how a breadboard works and the components needed to use one.
Explaining the Basics of Breadboarding and How It Works
A breadboard is a piece of plastic with copper strips inside that allow users to quickly and easily connect electronic components together to form a circuit. The copper strips are divided into rows and columns, and each row or column can be connected to other rows or columns with jumper wires. By connecting the components in the correct way, users can power their circuit and start testing out their ideas.
Each component on the breadboard has two metal pins called “legs” which plug into the breadboard’s holes. When the legs of two components are plugged into the same row or column, they are connected electrically. This allows users to quickly and easily create complex circuits without having to solder them together.
A Step-by-Step Guide to Using a Breadboard
Using a breadboard is relatively simple once you understand the basics. Here is a step-by-step guide to using a breadboard:
Setting Up Your Breadboard
The first thing you need to do is set up your breadboard. To do this, you will need to insert the components into the appropriate holes. Make sure to check the datasheets of each component to ensure they are compatible with the board.
Connecting Components to Your Breadboard
Once you have inserted all of the components, you can start connecting them with jumper wires. Connect the positive and negative terminals of each component to the appropriate rows and columns. Make sure to double-check all connections before powering the circuit.
Troubleshooting Common Issues When Using a Breadboard
When using a breadboard, there may be times when things don’t work as expected. If this happens, there are a few steps you can take to try and troubleshoot the issue. First, make sure all of the connections are secure and that no components are loose. You should also check to make sure you are using the correct components and that they are compatible with the board. Finally, you can use a multimeter to test all of the components individually.

Demonstrating the Different Components Needed to Use a Breadboard
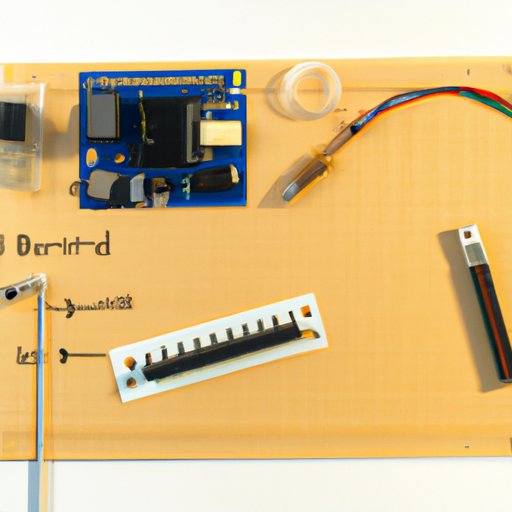
In order to use a breadboard, you will need several components. These include resistors, capacitors, diodes, transistors, LEDs, switches, and batteries. Each of these components serves a specific purpose and must be used correctly in order to achieve the desired results.
Resistors are used to limit the amount of current flowing through a circuit. Capacitors are used to store energy and help smooth out voltage spikes. Diodes allow current to flow in only one direction and can be used to protect sensitive components from damage. Transistors are used to amplify signals and control current flow. LEDs are used to indicate when a circuit is powered on or off. Switches are used to manually control the current flow in a circuit. Finally, batteries are used to provide power to the circuit.

Introducing the Different Types of Breadboards and Their Uses
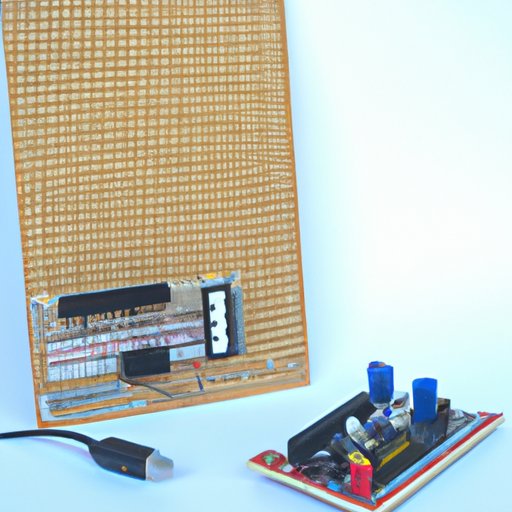
There are several different types of breadboards available, each of which has its own unique uses. Solderless breadboards are the most common type and are used for quickly prototyping circuits. Stripboard is made up of pre-drilled holes and is great for making more permanent circuits. Perfboard is a type of stripboard that has pre-drilled holes arranged in a grid pattern, which makes it easier to solder components onto the board.
An Overview of the Different Tools That Can Be Used with a Breadboard
In addition to the components listed above, there are several other tools that can be used in conjunction with a breadboard. Jumper wires are used to connect components together. A multimeter can be used to measure voltage, current, and resistance. A power supply is used to provide power to the circuit. And finally, a soldering iron can be used to solder components onto the board.
How to Troubleshoot Common Issues When Working with a Breadboard
When working with a breadboard, there may be times when things don’t work as expected. In these cases, it is important to troubleshoot the issue. The first step is to check all of the connections to make sure they are secure. Additionally, make sure you are using the correct components and that they are compatible with the board. Finally, you can use a multimeter to test all of the components individually.

Showcasing Creative Projects That Utilize a Breadboard
Breadboards are incredibly versatile and can be used for a variety of projects. Arduino projects, Raspberry Pi projects, and 3D printing projects are just a few examples of projects that can be created with a breadboard. Additionally, breadboards are often used in educational settings, as they provide a great platform for students to learn about electronics and circuitry.
Conclusion
In conclusion, understanding how a breadboard works is essential for anyone interested in building and experimenting with electronics. This article has explored the basics of breadboarding, including what is a breadboard, the components needed to use it, how to set up and connect components, and creative projects utilizing a breadboard. Troubleshooting common issues and introducing different types of breadboards were also covered. With this knowledge, you should now feel more confident in your ability to create and test out new ideas quickly and efficiently.
(Note: Is this article not meeting your expectations? Do you have knowledge or insights to share? Unlock new opportunities and expand your reach by joining our authors team. Click Registration to join us and share your expertise with our readers.)
