Introduction
A breadboard is an essential tool for anyone interested in creating circuits and working with electronics. It’s a simple device that allows you to quickly build and test out electrical circuits without the need for soldering or special tools. In this article, we’ll explore exactly what breadboards are and how they work, as well as provide step-by-step instructions on how to use one.
Exploring the Functionality of Breadboards: How Do They Work?
Breadboards are typically made up of two parts: a base board and a series of metal contacts. The base board is usually made from plastic and has a set of holes in it. These holes allow you to insert wires and components into the board. The metal contacts are placed along the edges of the board and are connected to the holes. This allows you to make electrical connections between components without having to solder them together.
Breadboards come in various sizes and configurations, but all of them share the same basic design. The most common type of breadboard is the half-size breadboard, which is typically used to create small circuits. Larger breadboards can also be used to create larger and more complex circuits.
Breadboards are commonly used in electronics prototyping, allowing engineers and hobbyists to quickly and easily test out ideas before committing them to a permanent circuit. They can also be used to create simple projects, like LED light displays, or to troubleshoot existing circuits.
A Guide to Understanding and Using Breadboards
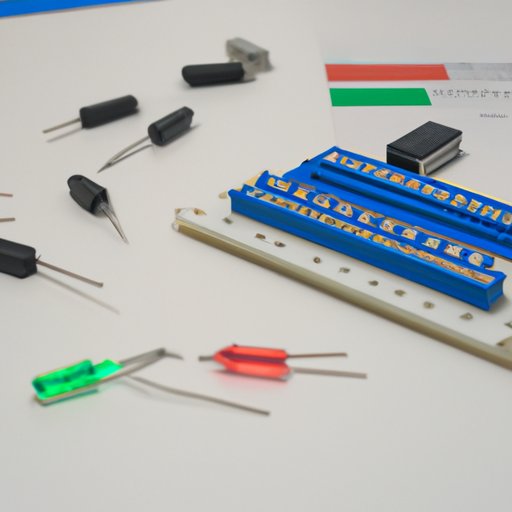
Using a breadboard is relatively straightforward, but there are a few things you should know before getting started. First, you’ll need to identify the different types of components that you’ll be using and how to connect them to the breadboard. Most components have three leads (pins), but some may have four or more. You’ll also need to know what kind of wire to use and how to properly connect it to the breadboard.
Once you’ve identified all of the components and wires you’ll be using, it’s time to start building your circuit. Begin by inserting the components into the breadboard and connecting them with wires. Make sure to use the correct type of wire and observe the correct polarity when connecting the components. Once all of the components are connected, you can power up the board and test out your circuit.
Breadboard Basics: What Are They and How Do You Use Them?
Breadboards are essential tools for anyone interested in creating electronics projects. They are simple devices that allow you to quickly build and test out electrical circuits without the need for soldering or special tools. The most common type of breadboard is the half-size breadboard, which is typically used to create small circuits. Larger breadboards can also be used to create larger and more complex circuits.
Breadboards consist of two parts: a base board and a series of metal contacts. The base board is usually made from plastic and has a set of holes in it. These holes allow you to insert wires and components into the board. The metal contacts are placed along the edges of the board and are connected to the holes. This allows you to make electrical connections between components without having to solder them together.
When using a breadboard, you’ll need to identify the components you’ll be using and how to connect them to the board. Once all of the components are connected, you can power up the board and test out your circuit. Breadboards are great tools for creating reliable and repeatable circuits and can help you quickly and easily prototype electronic projects.
An Introduction to Breadboard Wiring & Connections
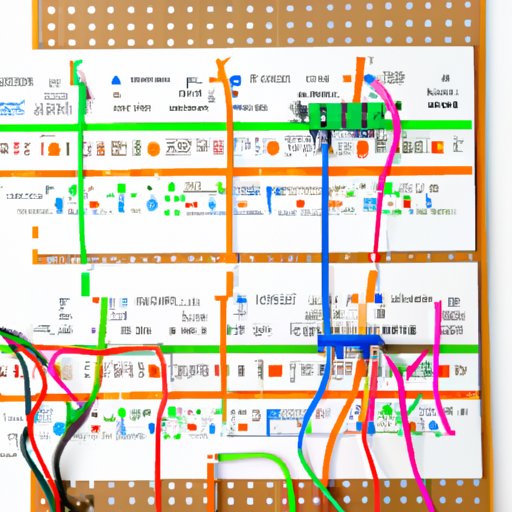
Breadboard wiring diagrams are an essential tool for anyone working with electronics. They provide a visual representation of how components should be connected to the breadboard and can help you quickly and easily understand the layout of the circuit. When reading a breadboard wiring diagram, it’s important to pay attention to the symbols used to represent components and the lines used to represent connections. Once you understand the basics of breadboard wiring diagrams, you’ll be able to quickly and easily create your own circuits.
Breadboards: The Building Blocks of Electronics Projects
Breadboards are invaluable tools for anyone interested in creating electronics projects. They allow you to quickly and easily build and test out circuits without the need for soldering or special tools. With a breadboard, you can create reliable and repeatable circuits and quickly prototype ideas. Here are some examples of projects you can create with a breadboard:
- LED Light Displays
- Robotic Arms
- Audio Amplifiers
- Remote Control Cars
- Wireless Doorbells
Step-By-Step Instructions on How to Use a Breadboard
Using a breadboard is relatively straightforward, but there are a few steps you’ll need to follow in order to get started. Here’s a step-by-step guide to using a breadboard:
- Prepare the board: Insert the components into the board and make sure they are securely connected.
- Insert components: Identify the components you’ll be using and how to connect them to the board. Most components have three leads (pins), but some may have four or more.
- Connect components with wires: Use the correct type of wire and observe the correct polarity when connecting the components.
- Power up the board: Once all of the components are connected, you can power up the board and test out your circuit.
Create Your Own Circuits With a Breadboard: A Beginner’s Guide
Creating your own circuits with a breadboard can be a fun and rewarding experience. Here are some tips for anyone just getting started:
- Take your time: Don’t rush your project. Take the time to plan out your circuit and double-check all of your connections.
- Pay attention to polarity: Pay close attention to the polarity of components when connecting them to the board. Incorrect polarity can cause your circuit to malfunction or even damage components.
- Test often: Test your circuit often to make sure everything is working as expected. This will help you identify any problems early on and save you time in the long run.
Troubleshooting breadboard circuits can be tricky, but with patience and practice, you’ll soon be creating your own circuits with ease.
Conclusion
In conclusion, breadboards are essential tools for anyone interested in creating electronics projects. They are simple devices that allow you to quickly build and test out electrical circuits without the need for soldering or special tools. With a breadboard, you can create reliable and repeatable circuits and quickly prototype ideas. By understanding the basics of breadboard wiring and connections and following the step-by-step instructions provided here, you’ll be able to create your own circuits with ease.
(Note: Is this article not meeting your expectations? Do you have knowledge or insights to share? Unlock new opportunities and expand your reach by joining our authors team. Click Registration to join us and share your expertise with our readers.)