Introduction
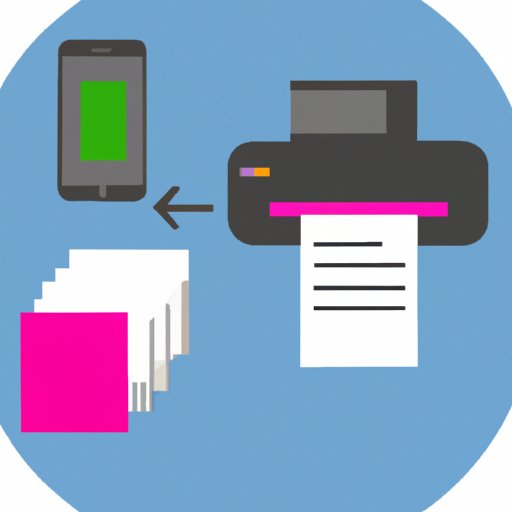
It’s no secret that technology has revolutionized the way we work and live. From taking notes to managing finances, smartphones have become an indispensable tool for both business and personal use. One of the most powerful features of modern smartphones is the ability to scan documents. With just a few taps on your iPhone, you can quickly and easily scan any document or paper.
This article will provide a step-by-step guide on how to scan documents with your iPhone. We’ll also discuss the benefits of using the iPhone camera and some tips to get the best results. Finally, we’ll look at the easiest way to scan documents with your iPhone – by using a document scanning app.
Step-by-Step Guide to Scanning Documents with Your iPhone
If you’re new to scanning documents with your iPhone, then this section is for you. Here’s a step-by-step guide to help you get started.
Setting Up Your iPhone
The first step is to set up your iPhone for scanning documents. You’ll need to open the “Camera” app and select the “Scanner” mode. This will enable you to capture documents with your phone’s camera.
Capturing the Document
Once you’ve selected the “Scanner” mode, it’s time to capture the document. Place the document on a flat surface, making sure that it’s well-lit and free from shadows. Then, use your iPhone’s camera to take a picture of the document.
Adjusting the Image Quality
After capturing the document, you’ll need to adjust the image quality. You can do this by adjusting the brightness and contrast settings. You can also crop the image to make sure that all edges are visible. Once you’re happy with the results, you can save the document.
Saving the Document
Once you’ve adjusted the image quality, you can save the document. You can save it as a PDF file or export it to various cloud storage services such as Google Drive or Dropbox. This makes it easy to access and share your scanned documents.

How to Use Your iPhone Camera for Document Scanning
Using the camera on your iPhone is one of the best ways to scan documents. Here are some tips to help you get the best results.
The Benefits of Using the iPhone Camera
Using the iPhone camera has many advantages. It’s fast, easy to use, and you don’t need any additional equipment. Plus, you can adjust the image quality to get the best results.
Tips for Capturing Clear Images
When capturing documents with your iPhone camera, make sure that the document is well-lit and free from shadows. It’s also important to keep the document flat and avoid shaking the camera when taking the photo. Finally, make sure that the document is in focus before taking the picture.
Adjusting Brightness and Contrast Settings
Once you’ve taken the picture, you can adjust the brightness and contrast settings to get the best results. This will help to make sure that the document is clear and legible.

The Easiest Way to Scan Documents with Your iPhone
The easiest way to scan documents with your iPhone is to use a document scanning app. These apps are designed to make document scanning as simple and straightforward as possible.
Installing a Document Scanning App
The first step is to install a document scanning app on your iPhone. There are many apps available, so make sure to research different options and choose the one that best suits your needs.
Using the App to Capture and Save Documents
Once you’ve installed the app, you can use it to capture and save documents. Simply place the document on a flat surface, open the app, and use the camera to take a picture. The app will automatically adjust the image quality and save the document as a PDF file or other file format.
A Beginner’s Guide to Scanning Documents on Your iPhone
If you’re new to scanning documents on your iPhone, then here’s a quick guide to get you started.
Setting Up Your iPhone
The first step is to open the “Camera” app and select the “Scanner” mode. This will enable you to capture documents with your phone’s camera.
Capturing Documents
Once you’ve selected the “Scanner” mode, it’s time to capture the document. Place the document on a flat surface, making sure that it’s well-lit and free from shadows. Then, use your iPhone’s camera to take a picture of the document.
Adjusting Image Quality
After capturing the document, you’ll need to adjust the image quality. You can do this by adjusting the brightness and contrast settings. You can also crop the image to make sure that all edges are visible. Once you’re happy with the results, you can save the document.
Saving Documents
Once you’ve adjusted the image quality, you can save the document. You can save it as a PDF file or export it to various cloud storage services such as Google Drive or Dropbox. This makes it easy to access and share your scanned documents.
Unlock the Power of Your iPhone: Learn How to Scan Documents
Scanning documents with your iPhone can be a great way to save time and effort. Here are some tips to help you get the most out of your iPhone’s scanning capabilities.
Why Scanning Documents is Important
Scanning documents is important for a variety of reasons. It can help you organize and store important documents, save time when searching for information, and make it easier to share documents with others.
The Benefits of Using an iPhone
Using an iPhone to scan documents has several benefits. It’s fast, easy to use, and you don’t need any additional equipment. Plus, you can adjust the image quality to get the best results.
Tips for Scanning Documents
When scanning documents with your iPhone, make sure that the document is well-lit and free from shadows. It’s also important to keep the document flat and avoid shaking the camera when taking the photo. Finally, make sure that the document is in focus before taking the picture.
Conclusion
Scanning documents with your iPhone is a great way to save time and effort. This article has provided a step-by-step guide to help you get started. We’ve also discussed the benefits of using the iPhone camera and some tips to get the best results. Finally, we’ve looked at the easiest way to scan documents with your iPhone – by using a document scanning app.
With these tips, you’ll be able to unlock the power of your iPhone and scan documents quickly and easily.
(Note: Is this article not meeting your expectations? Do you have knowledge or insights to share? Unlock new opportunities and expand your reach by joining our authors team. Click Registration to join us and share your expertise with our readers.)